You can now connect a USB flash drive or external hard drive to your SNES Classic and run games from your external drive. This is useful because many consoles like the Playstation 1, N64, MAME, or NeoGeo have large game files that can fill up the internal memory of the SNES Classic quickly. Now you can add all of the games you want and run them from an external USB drive. Follow our USB-Host tutorial to get started!
Update: This tutorial is outdated. Check out our new tutorial here (it's better and easier).
This is the new revised tutorial with detailed steps for each process including how to set up your SNES Classic to use a USB drive, how to set up your USB, how to add games, how to install hmods, and more.
What you will need...
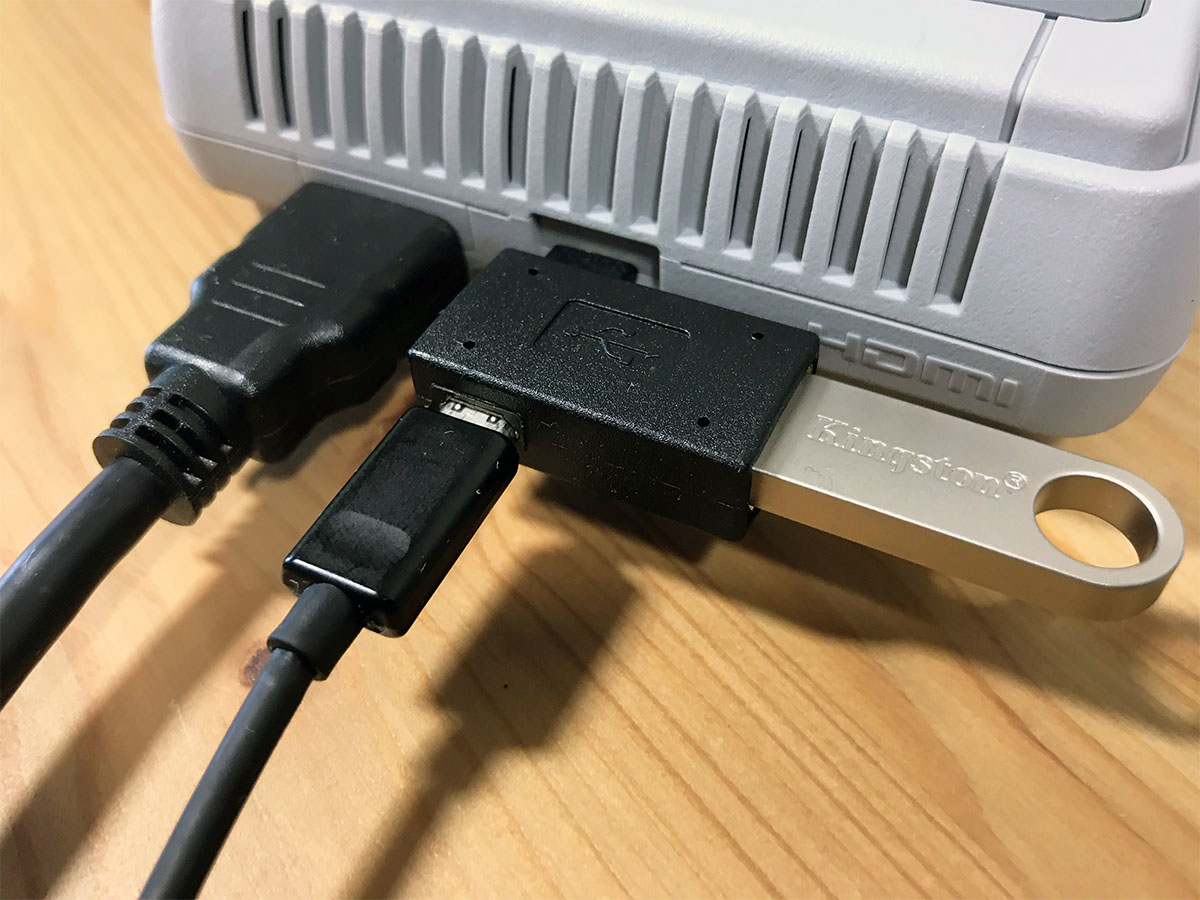
Before we begin, you will need a USB OTG adapter to connect your USB drive and power source to your SNES Classic. You can purchase one on Amazon. Either of these will work:
This process is still very new and may not work correctly for you. Please back-up all of your files before you begin.
How-to Install Expandable Storage Mod to Your SNES Classic
Please follow every step and use the files mentioned in this tutorial.
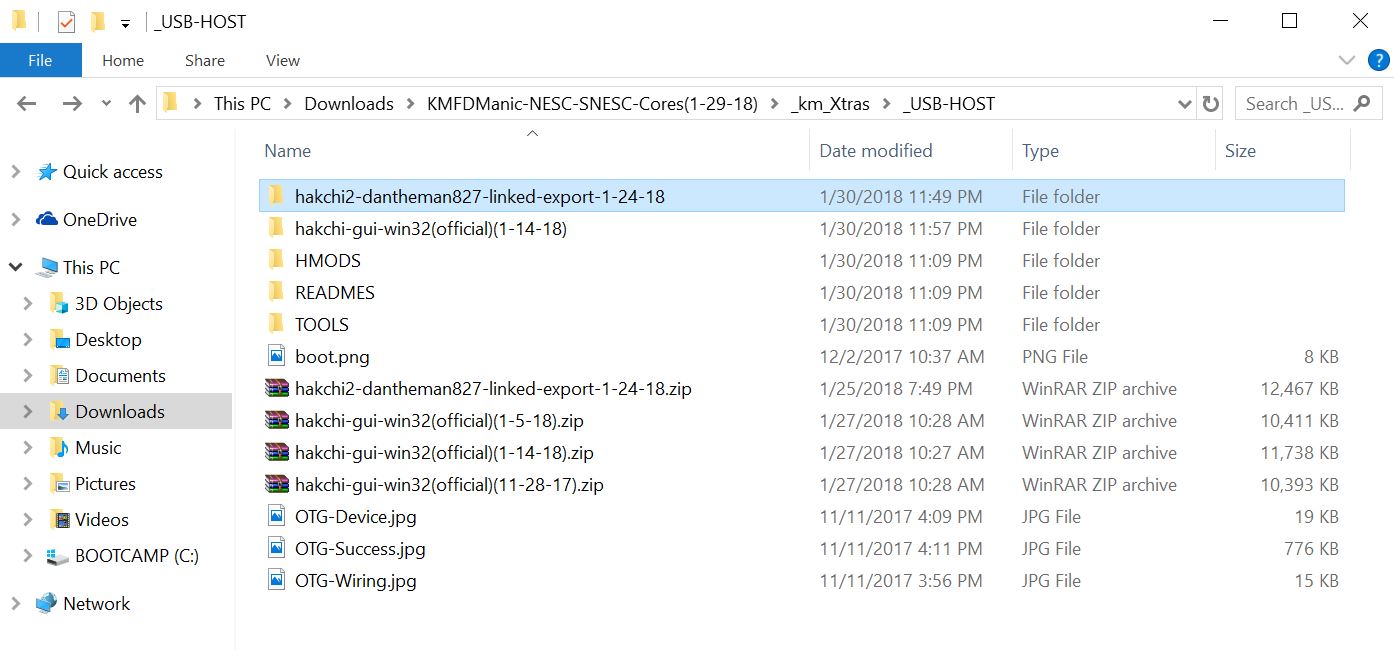
1. Download KMFDManic Set here (KMFDManic-NESC-SNESC-Cores.##-##-##.7z) and extract it.
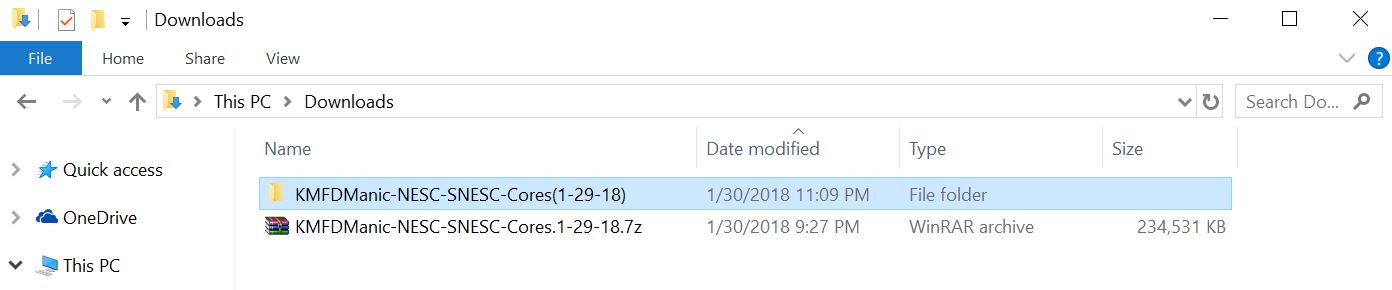
2. Open the KMFDManic-NESC-SNESC-Cores folder and go to _km_Xtras > _USB-Host (we will be using the files in this folder).
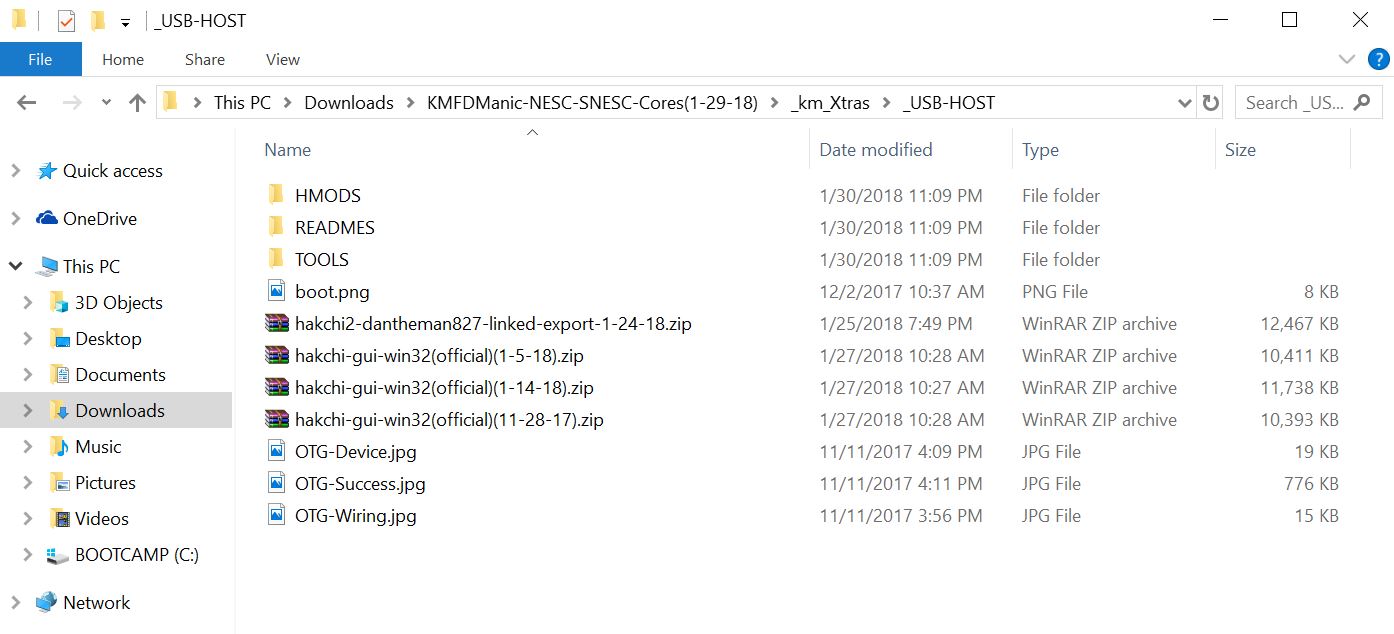
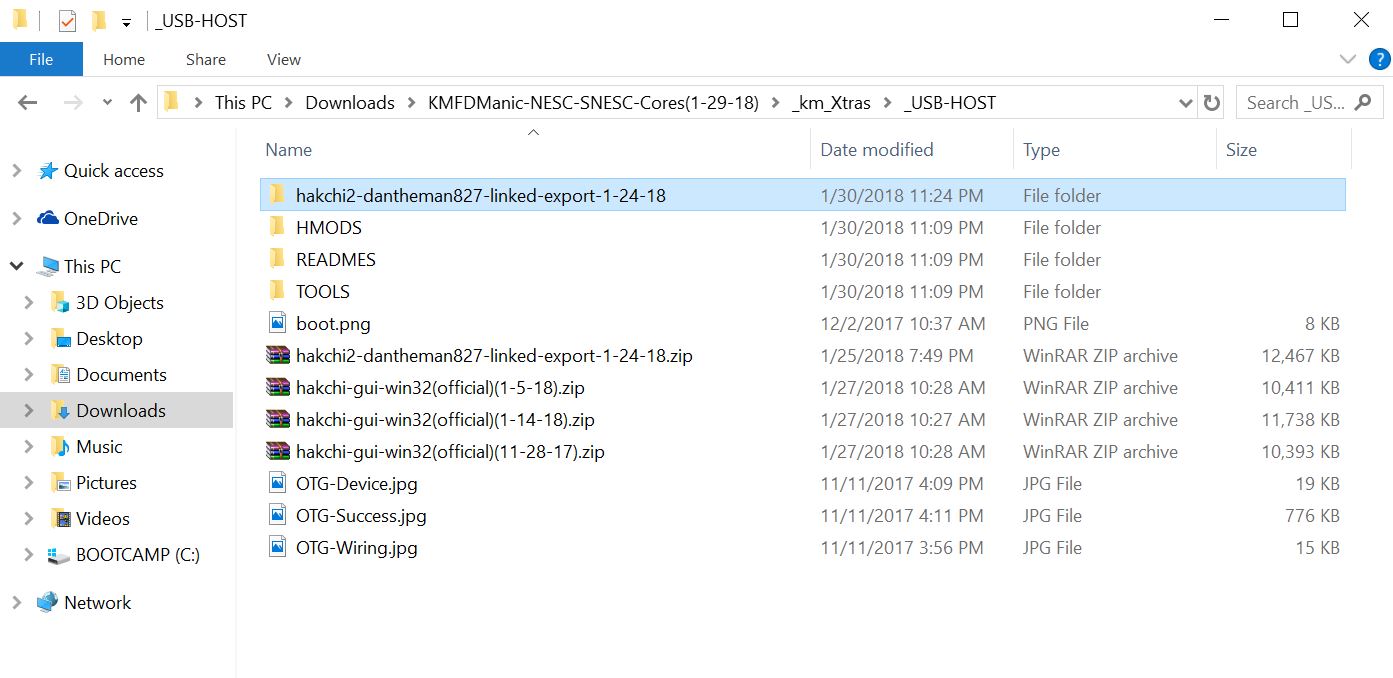
3. Extract the latest "hakchi2-dantheman827-linked-export-##-##-##.zip" (right-click file and hit "Extract to hakchi2-dantheman827-linked-export-##-##-##\" - this will extract all the files into a folder). We will be using dantheman827's version of hakchi2 for this tutorial.
4. If you have already installed hakchi2 to your console, follow these steps:
- Copy the "dump" folder from your old hakchi2 folder to the new hakchi2-dantheman827-linked-export-##-##-## folder.
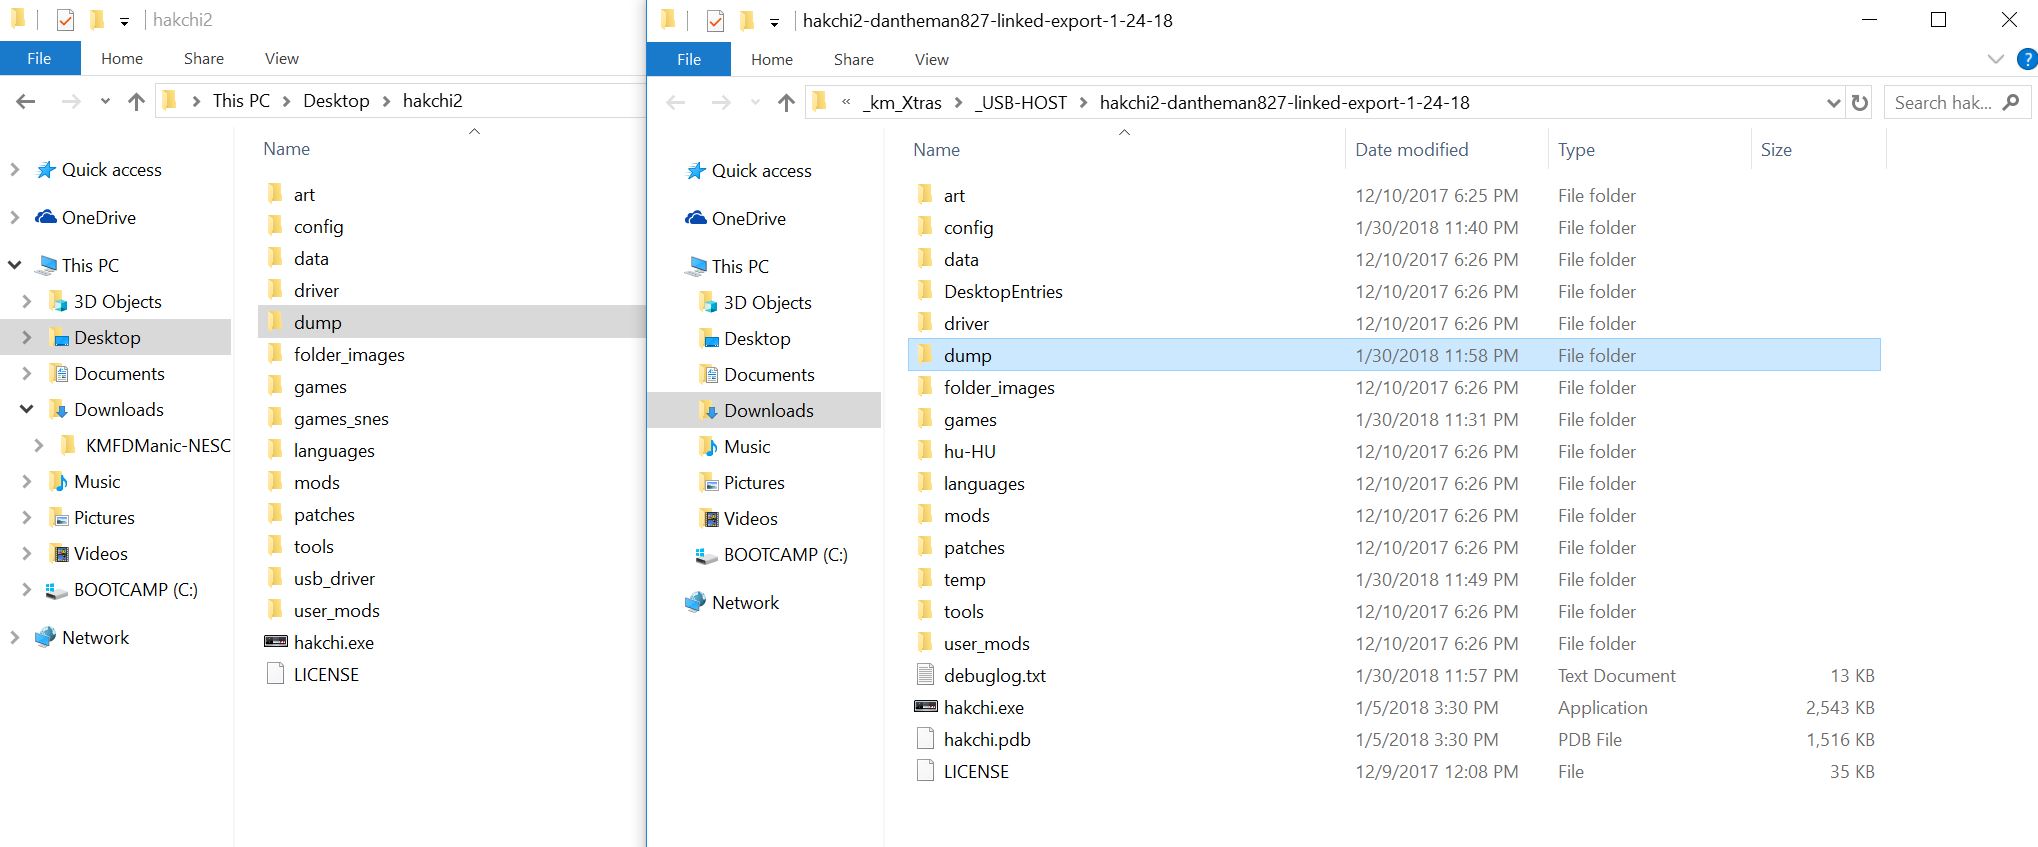
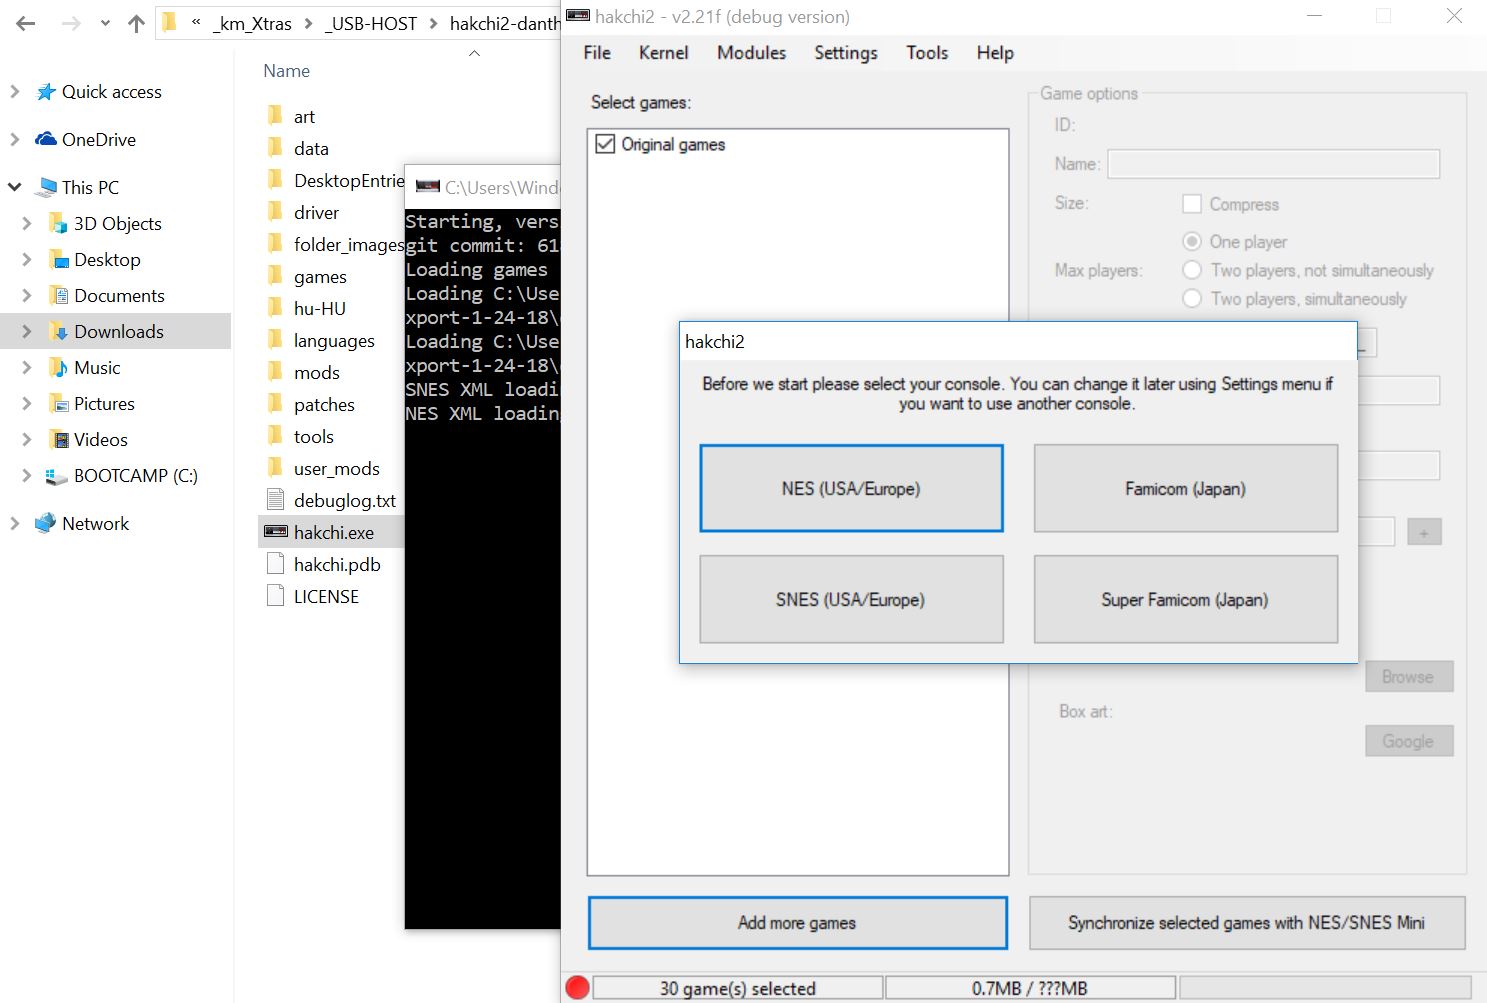
- Now open "hakchi.exe" in the hakchi2-dantheman827-linked-export-##-##-## folder and select your console.
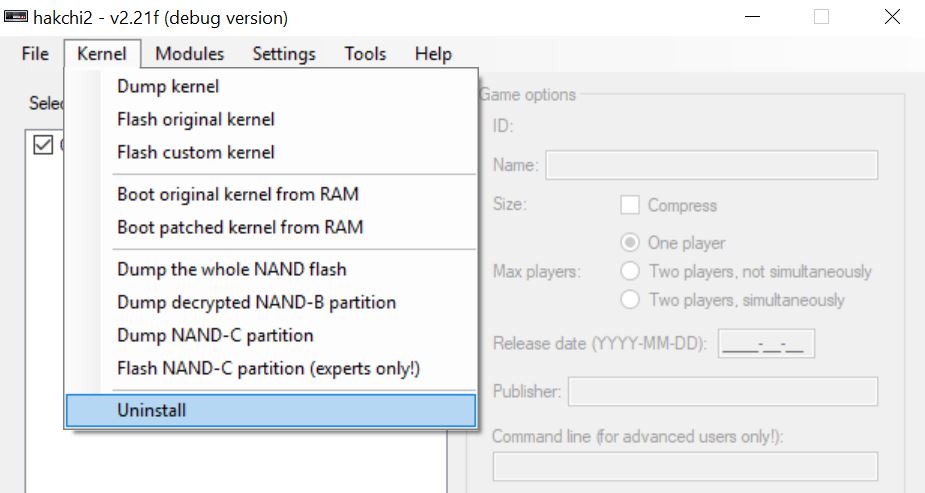
- Go to Kernel > Uninstall.
- Hit OK.
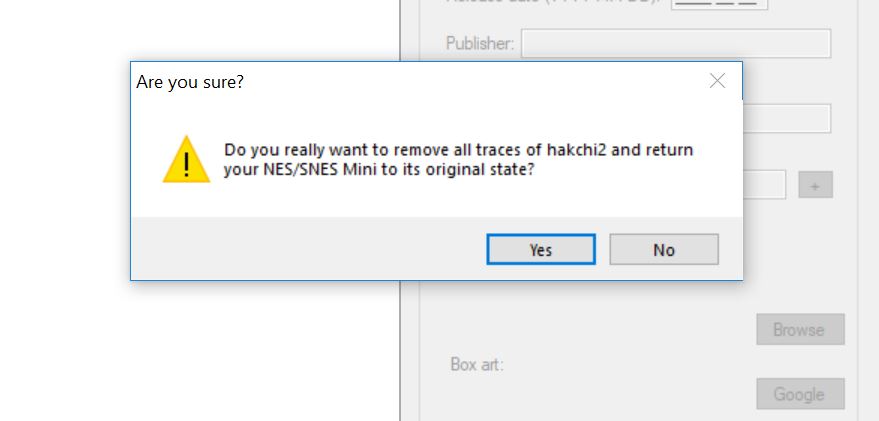
- Follow the instructions on the screen.
If you have not installed hakchi2 to your console, follow these steps:
- Open "hakchi.exe" in the hakchi2-dantheman827-linked-export-##-##-## folder and select your console.
- Go to Kernel > Dump kernel
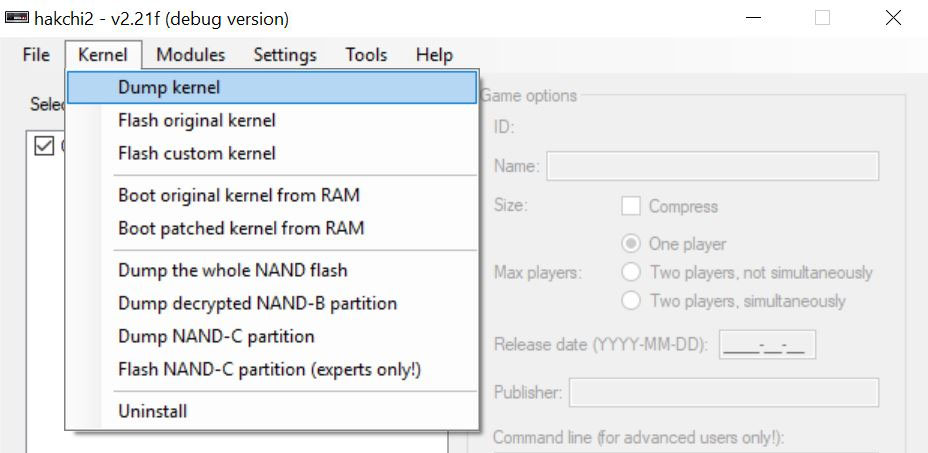
- Follow the instructions on the screen.
5. Go back to KMFDManic-NESC-SNESC-Cores >_km_Xtras > _USB-Host from step 2 and extract the latest "hakchi-gui-win32(official)(##-##-##).zip" (right-click the file and hit "Extract to hakchi-gui-win32(official)(##-##-##)\" - this will extract all the files into a folder).
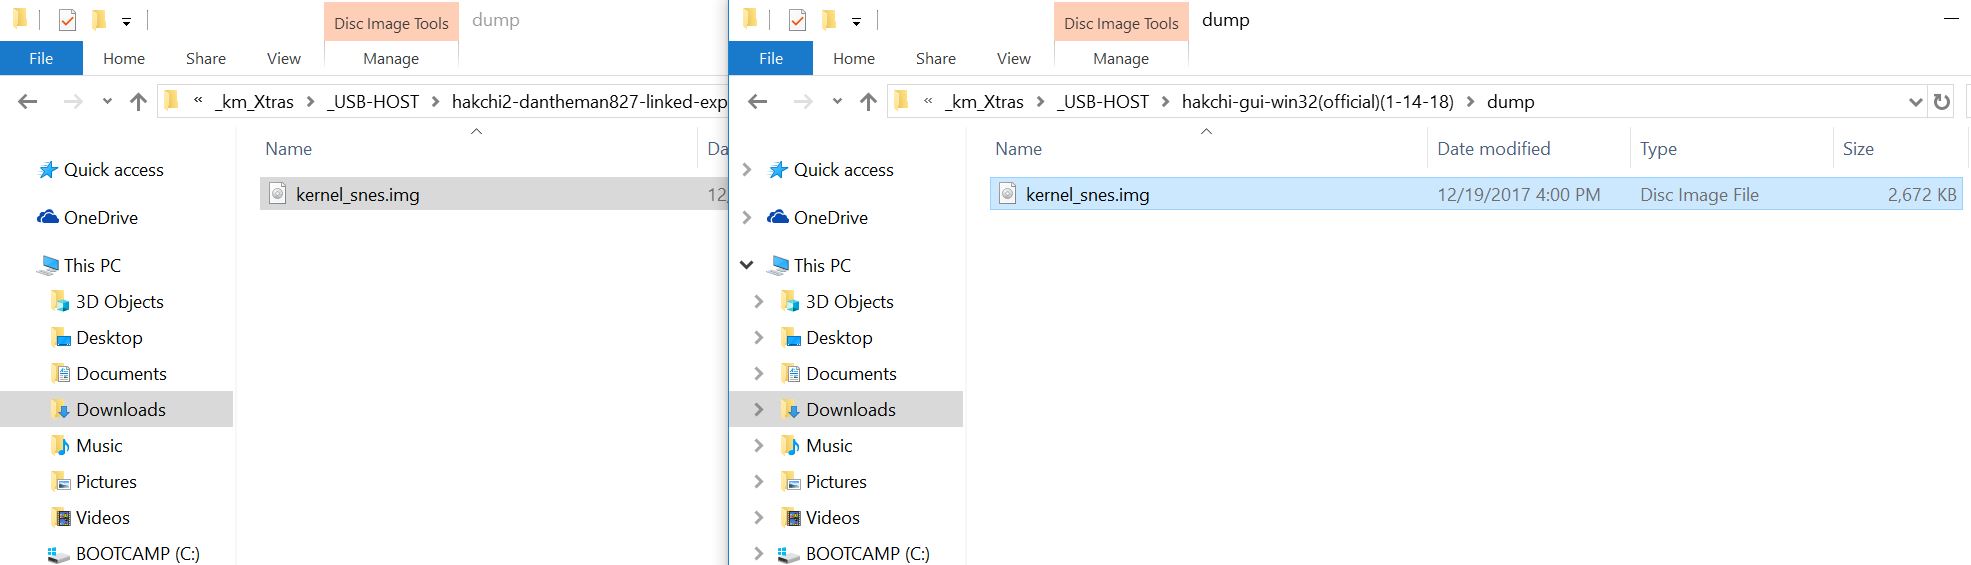
6. Copy the "kernel_snes.img" file in the hakchi2-dantheman827-linked-export-##-##-## > dump folder into the hakchi-gui-win32(official)(##-##-##) > dump folder.
7. Open the KMFDManic-NESC-SNESC-Cores folder and go to _km_Xtras > _USB-HOST > HMODS and copy the latest "dtm_font_remount_##_##_##.hmod" file to the hakchi-gui-win32(official)(##-##-##) > mod > hakchi > transfer > hmod folder.
![]()
8. Open "hakchi-gui.exe" in the hakchi-gui-win32(official)(##-##-##) folder.

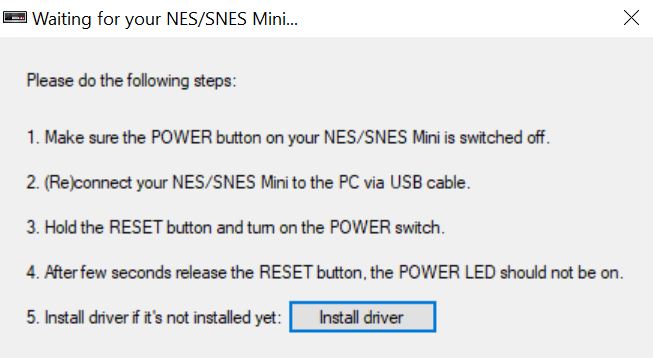
9. Make sure your connected and turned off - now hold the reset button, turn on your console, and wait a few seconds then release the reset button.
10. Press dump kernel.img
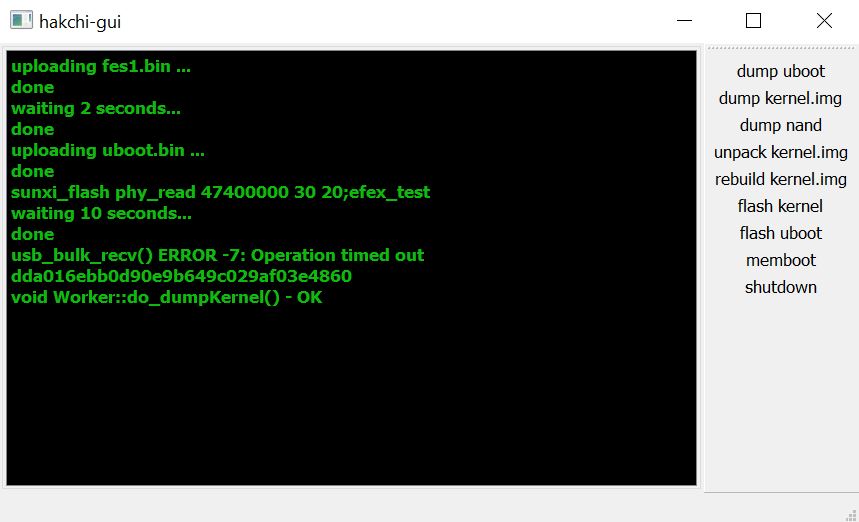
This is what it should look like after the process is finished.
11. Press unpack kernel.img
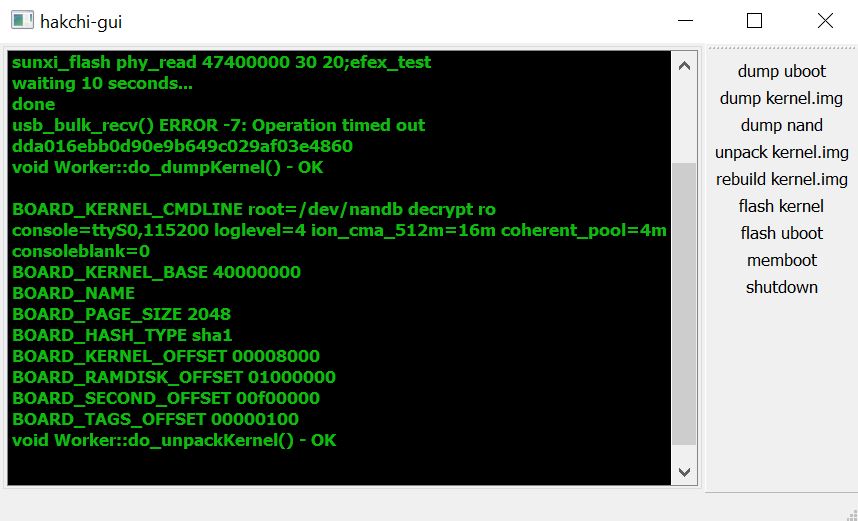
This is what it should look like after the process is finished.
12. Press flash kernel and hit Yes.

This is what it should look like after the process is finished.
13. Press rebuild kernel.img.
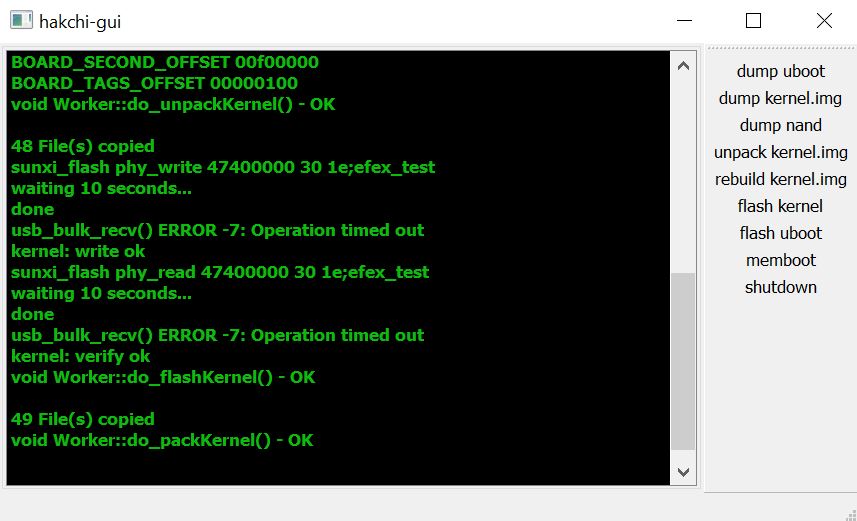
This is what it should look like after the process is finished.
14. Press memboot.
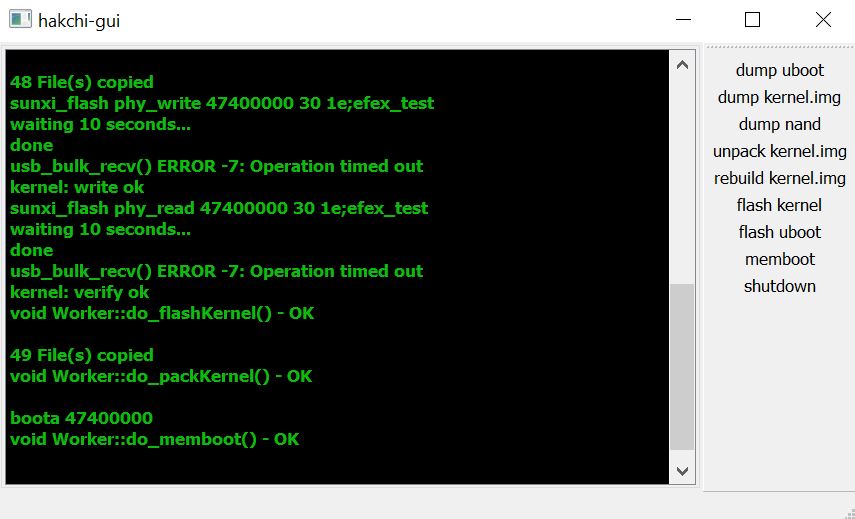
This is what it should look like after the process is finished.
15. You should now test if you did everything right so far. Connect your console to your TV and turn it on - you should see a hakchi splash screen and then the normal screen with the original 21 games. If you do not get this, something went wrong and you should start all over.

How-to Setup USB Drive
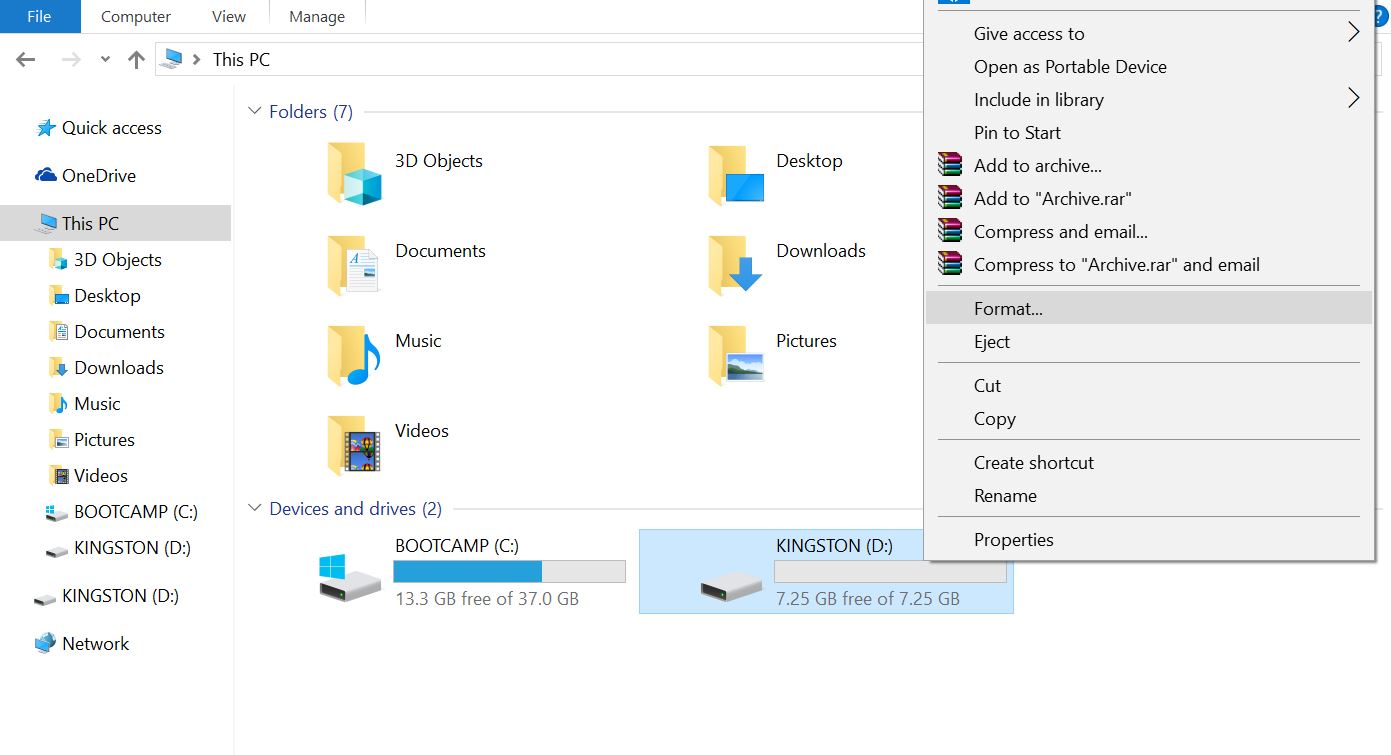
16. Connect USB drive to computer, locate USB drive in folder, right-click it, and hit Format...
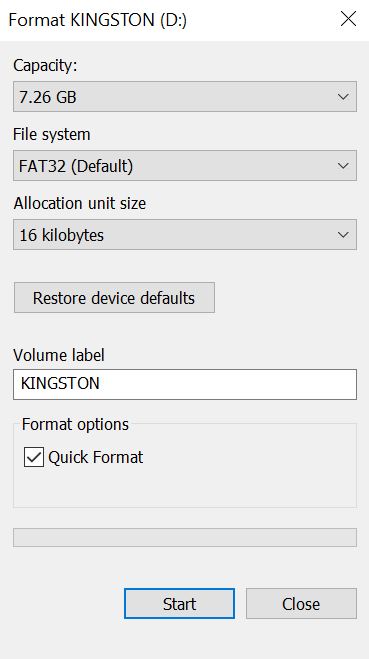
17. Make sure "FAT32 (Default)" is selected for File system and hit Start then hit OK.
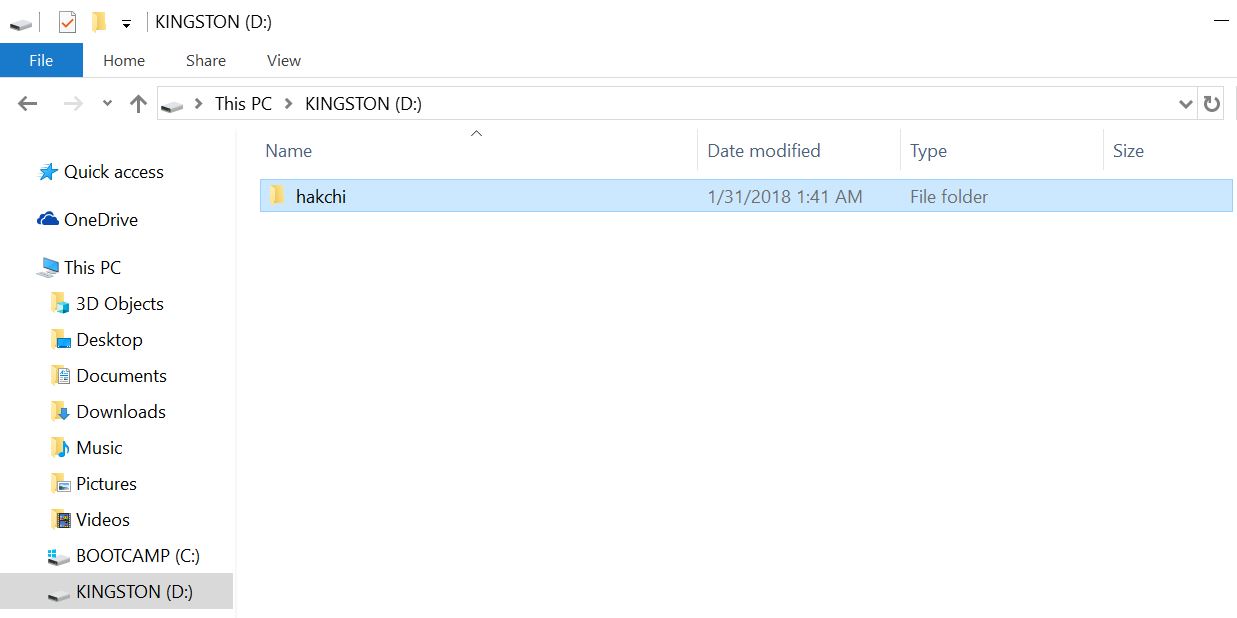
18. Open the drive and create a new folder called "hakchi".
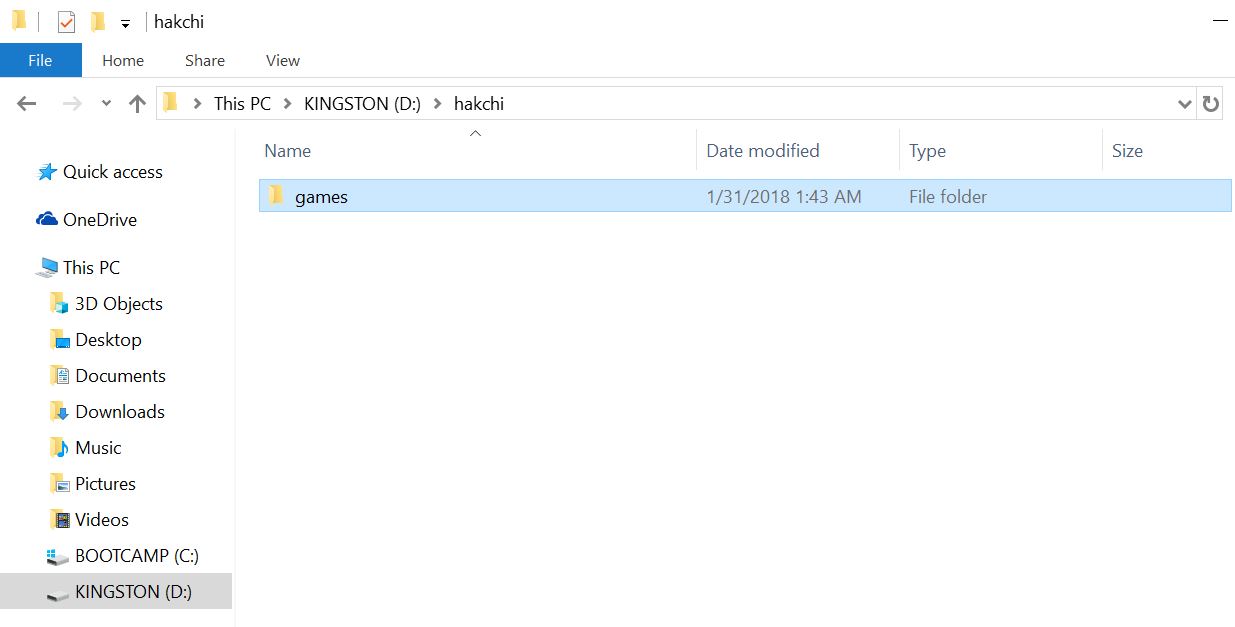
19. Open the "hakchi" folder and create a new folder called "games".
How-to Add Games to USB Drive
20. Open hakchi.exe (from the "hakchi2-dantheman827-linked-export-##-##-##" folder).
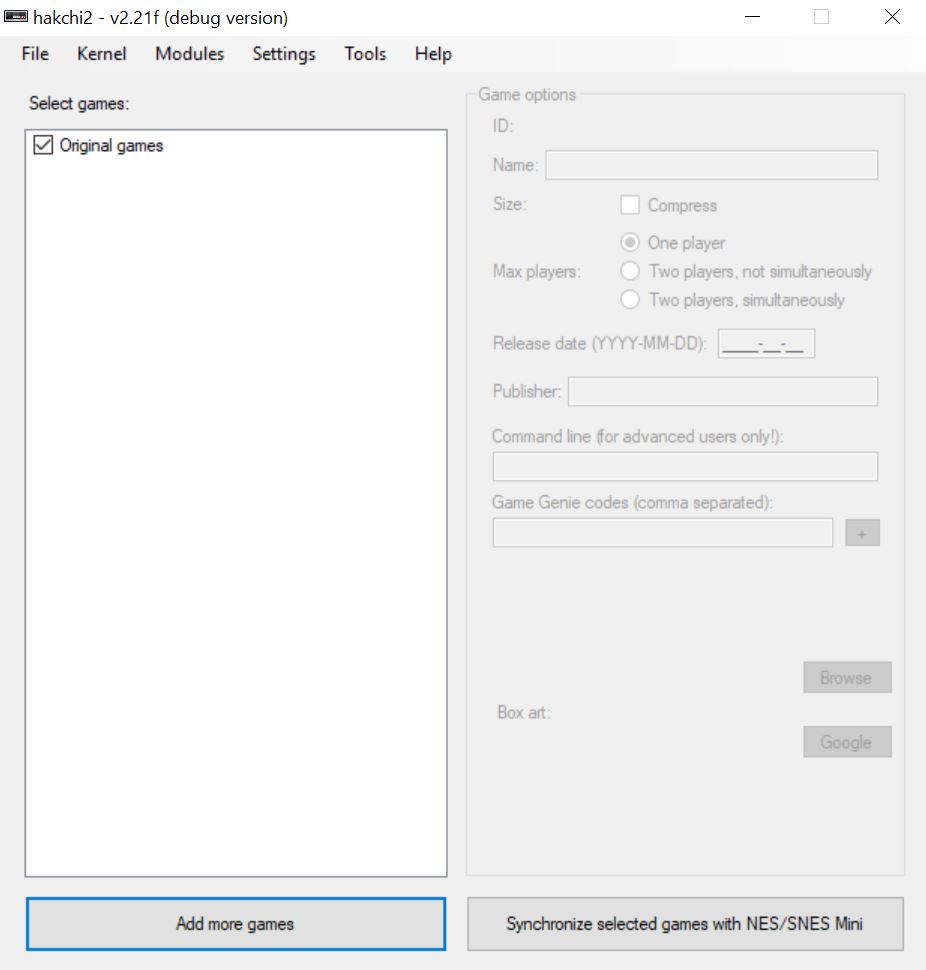
21. Hit Add more games and add your ROMs.

22. *OPTIONAL* You can now add box art, edit names, edit the command lines, and create change folder structure.
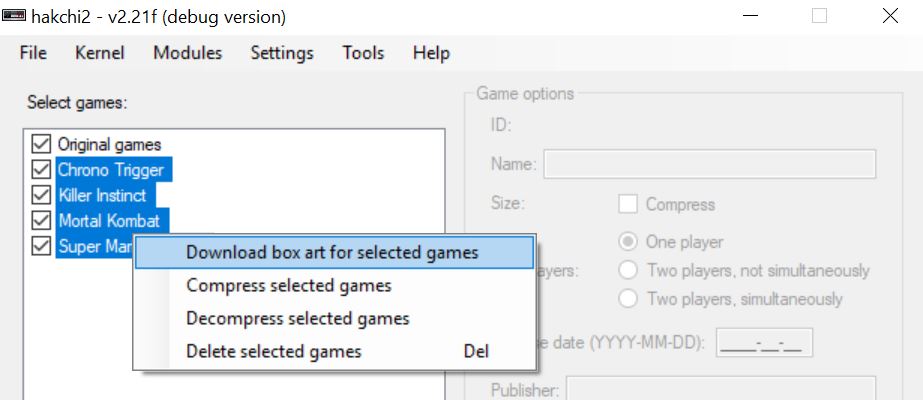
23. Now hold shift on your keyboard and hit Synchronize selected games with NES/SNES Mini.

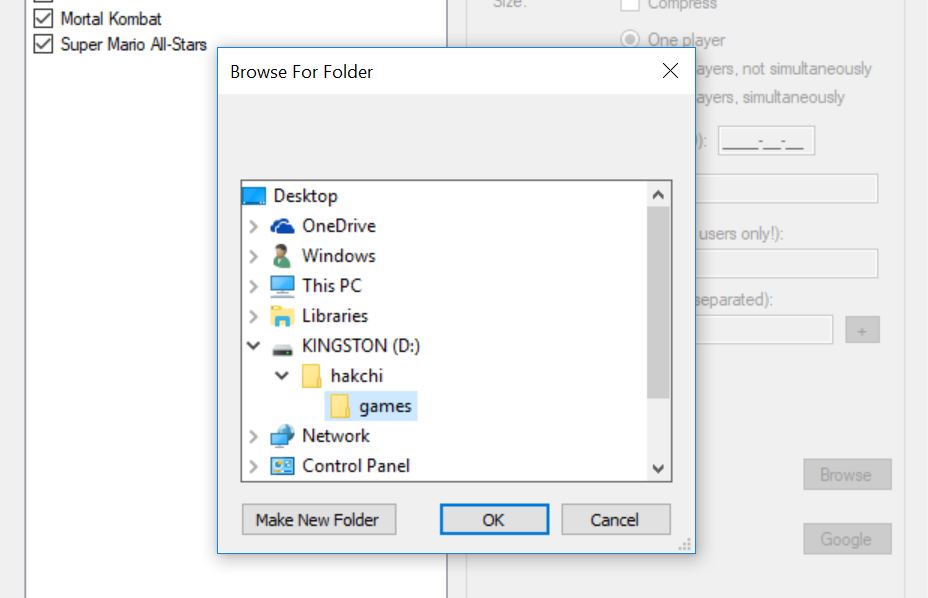
24. Browse for the "games" folder in your USB drive and hit OK.
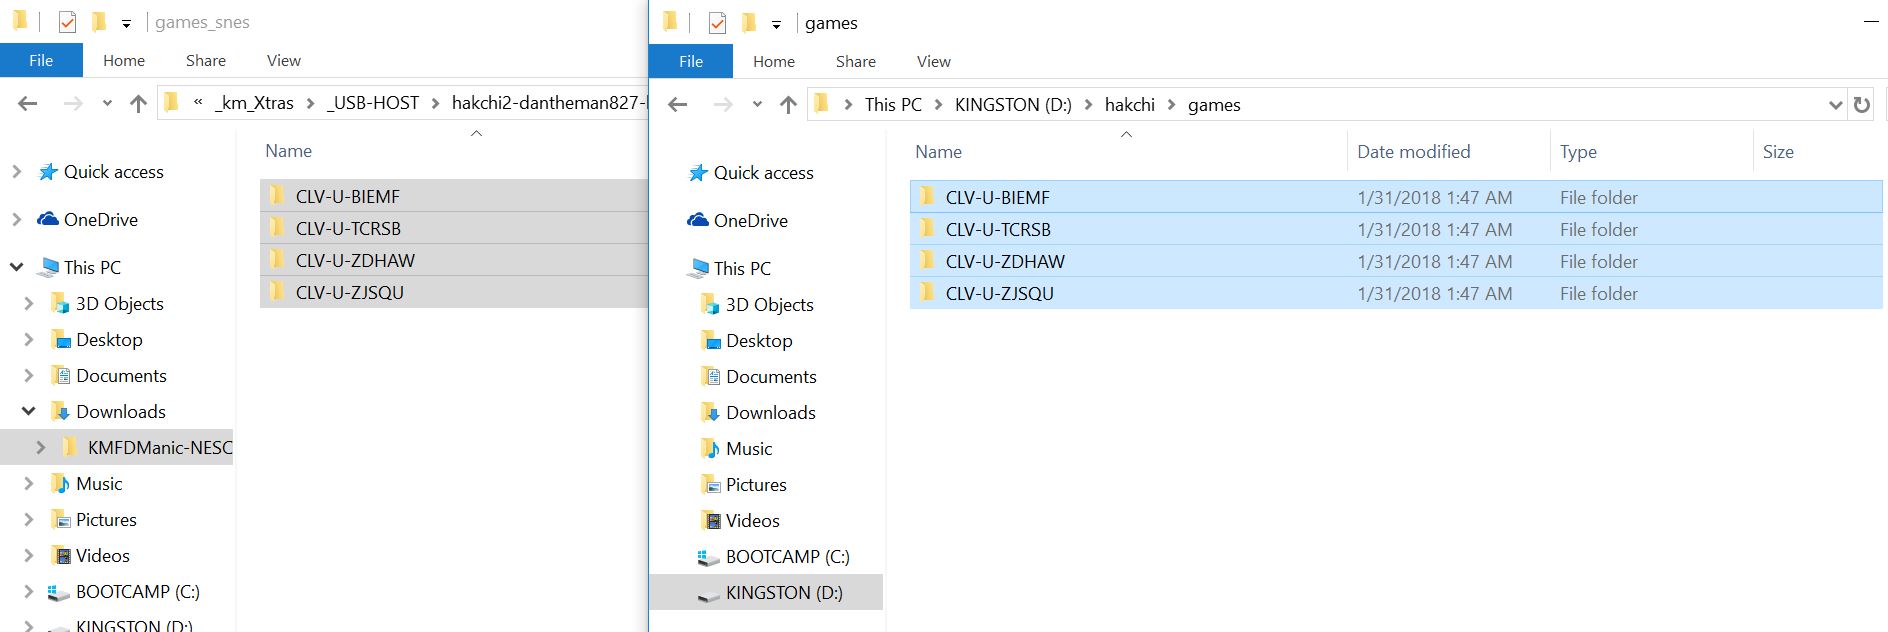
25. In the future, to add games you will need to add your ROMs to hakchi2, then copy the contents inside of the "games_snes" folder in the hakchi2 folder into the "games" folder of your USB drive. Each CLV-U folder is a game.
26. Okay, you can now test it out. Connect your USB OTG adapter to the micro-USB power port on the back of your SNES Classic, then connect the power cable to the micro-USB port on the adapter, and connect the USB drive to the USB port on the adapter. You should now see the games you put on your USB drive on the screen.
How-to Install HMODS
1. Open the "hakchi" folder on the USB drive and create a new folder called "transfer" inside of it. The contents of this folder will transfer to your SNES Classic everytime you turn on your console with your USB drive attached.
![]()
2. Copy the hmods you want into the "transfer" folder. There are hmods located inside the KMFDManic-NESC-SNESC-Cores folder. Do not transfer more than 60MB of hmods at a time. You should make multiple transfers.
![]()
3. Turn on your console (with USB connected). You will see the hakchi splash screen while the hmod is transferring, then the console will restart after it it done transferring. Your hmods will be installed. The "transfer" folder in your USB drive is deleted after the transfer is complete.
How-to Uninstall All HMODS
This will delete all of your hmods.
1. Open the "hakchi" folder on the USB drive and create a new folder named "transfer".
![]()
2. Open the KMFDManic-NESC-SNESC-Cores folder and go to _km_Xtras > _USB-HOST > HMODS and copy the "uninstall" file to the "transfer" folder.
![]()
3. Turn on your console (with your USB drive connected). You will see the hakchi splash screen while the hmod is transferring, then the console will restart after it it done transferring.
4. You will now need to reinstall the essential hmods. Open the "hakchi" folder on the USB drive and create a new folder called "transfer" inside of it.
![]()
5. Open the KMFDManic-NESC-SNESC-Cores folder and go to _km_Xtras > _USB-HOST > HMODS > open the latest "##-##-## Reinstall" folder and copy the contents into the "transfer" folder.
![]()
6. Copy the latest "dtm_font_remount_##_##_##.hmod" file from KMFDManic-NESC-SNESC-Cores > _km_Xtras > _USB-HOST > HMODS to the "transfer" folder.
![]()
7. You can copy any other hmod you want to install to the "transfer" folder. Remember not to transfer more than 60mb of hmods at once.
![]()
8. Turn on your console (with your USB drive connected). You will see the hakchi splash screen while the hmod is transferring, then the console will restart after it it done transferring.
How-to Edit the Splash Screen
This will show you how to change the "hakchi" boot screen when you turn on your console.
1. Create a 1280x720 image titled "boot.png" and place it inside the "hakchi" folder of the USB drive. Here is an example splash screen that you can use:
If you have any questions please leave it in the comments below.
Credits: /u/BsLeNuL of Reddit
Hey, can you do a USB guide for the latest CE build? Great stuff!
Thanks. The tutorial has been updated with the CE build.
Hi, there’s a better way, use hakchi2 community edition, it adds USB support but hakchi2 still behaves like before. So you can still add roms to the SNES as normal, but when you connect your USB drive it loads games from that: https://www.reddit.com/r/miniSNESmods/comments/7uf94u/release_hakchi2_ce_v100/
Only thing’s I couldn’t get it to recognise my USB drive formatted to NFTS so had to reformat to FAT32.
Thanks. I updated the tutorial.