The developer of hakchi2, Cluster, took a break for a few months after developing hakchi2 and during this period a team of developers created a fork of hakchi2, called hakchi2 CE, that introduced a lot new features and fixes. In this tutorial, we will show you how to correctly switch over from Cluster's hakchi2 to hakchi2 CE.
How-to Switch From hakchi2 to hakchi2 CE
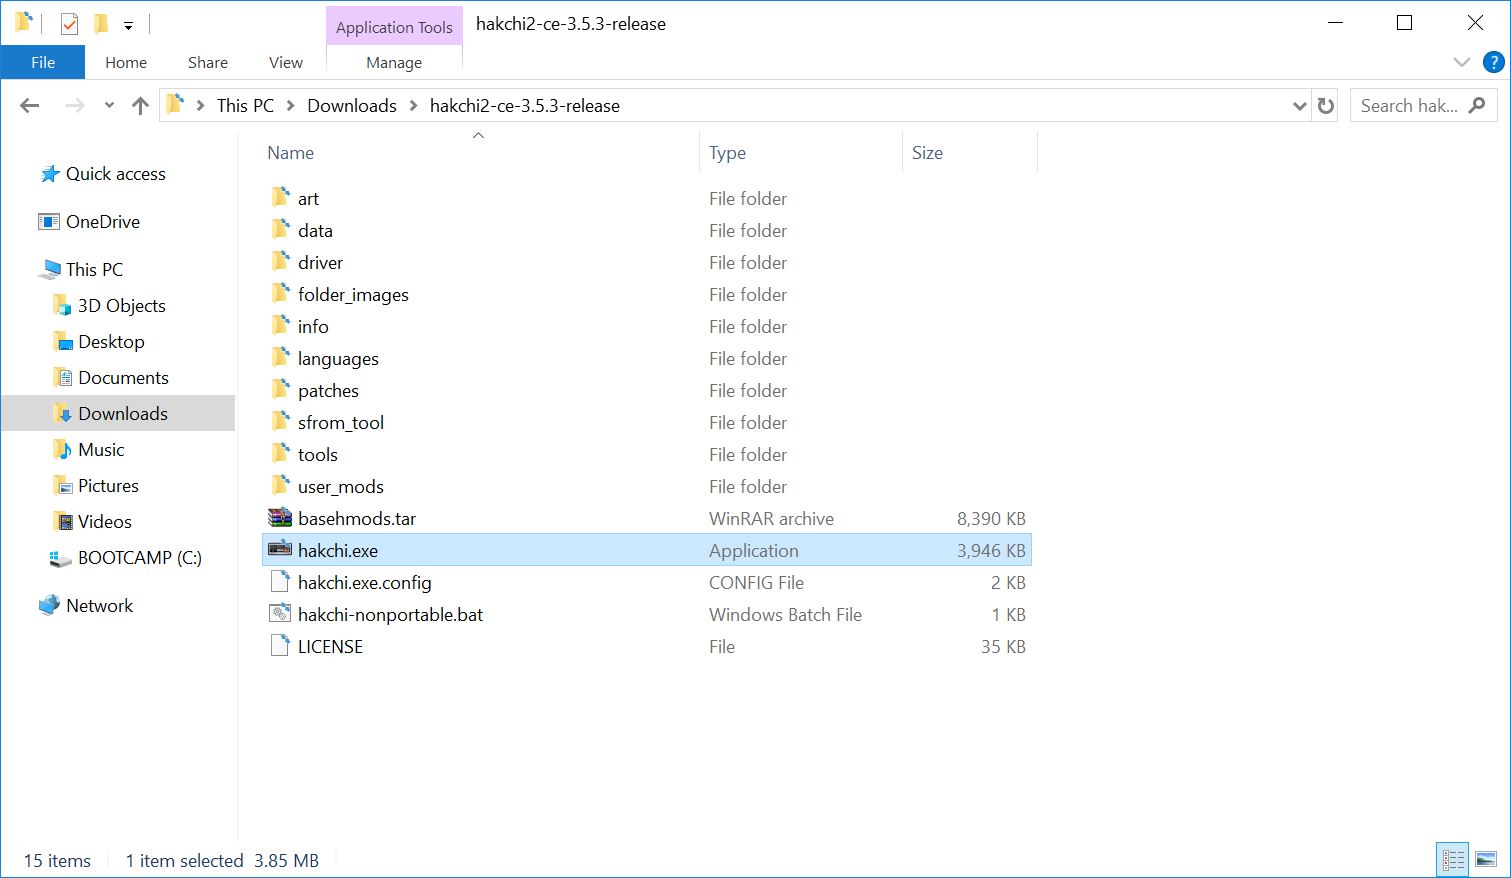
1. Download hakchi2 CE (hakchi2_CE_#.#.#.zip) and extract it to your computer.
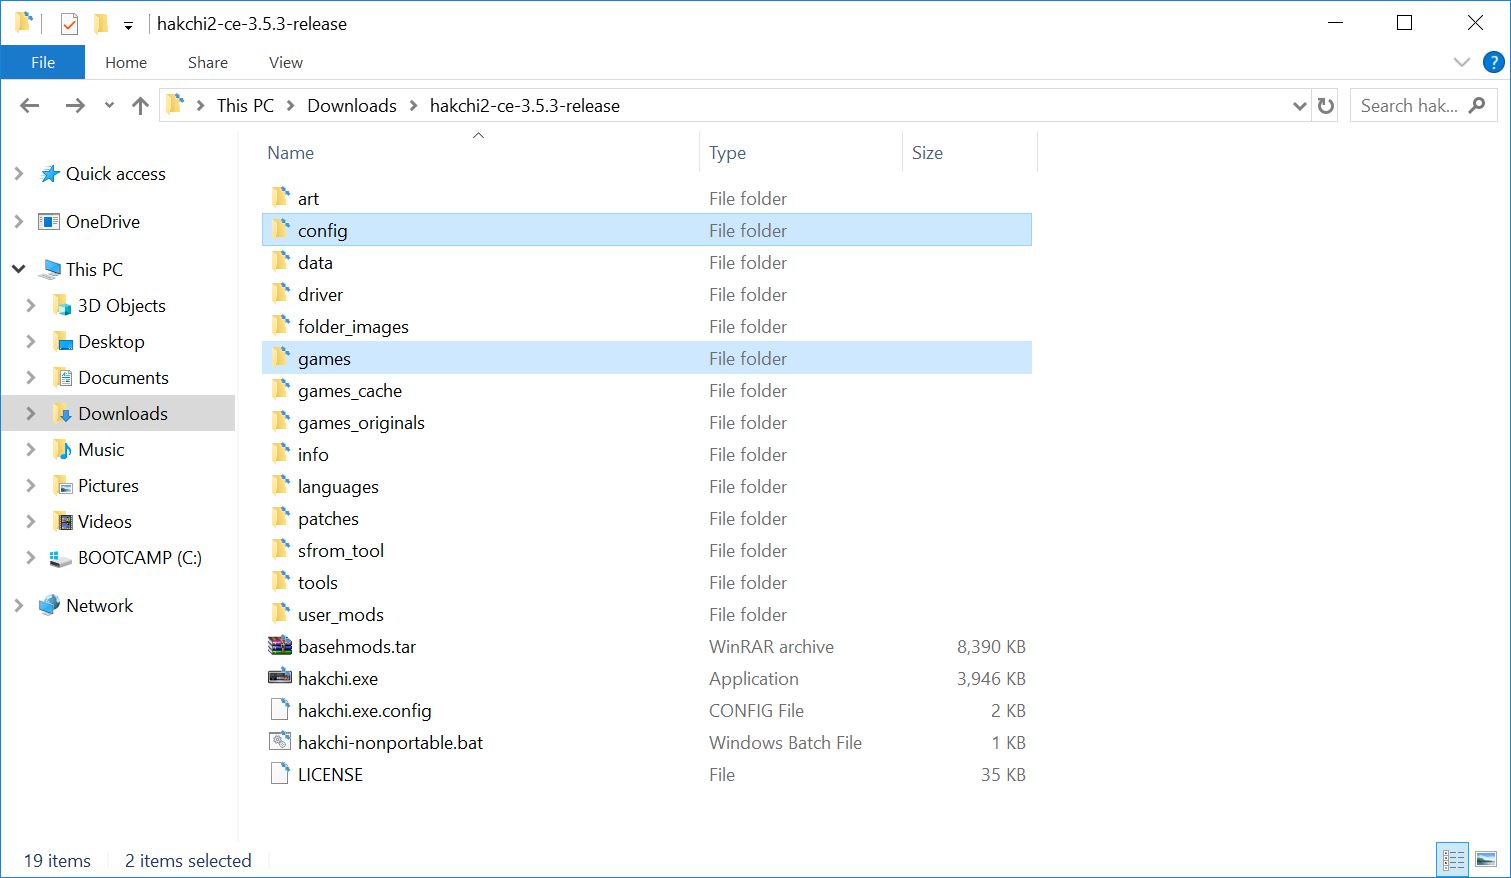
2. Copy the "config" and "games" folder from the old hakchi folder into the new one.
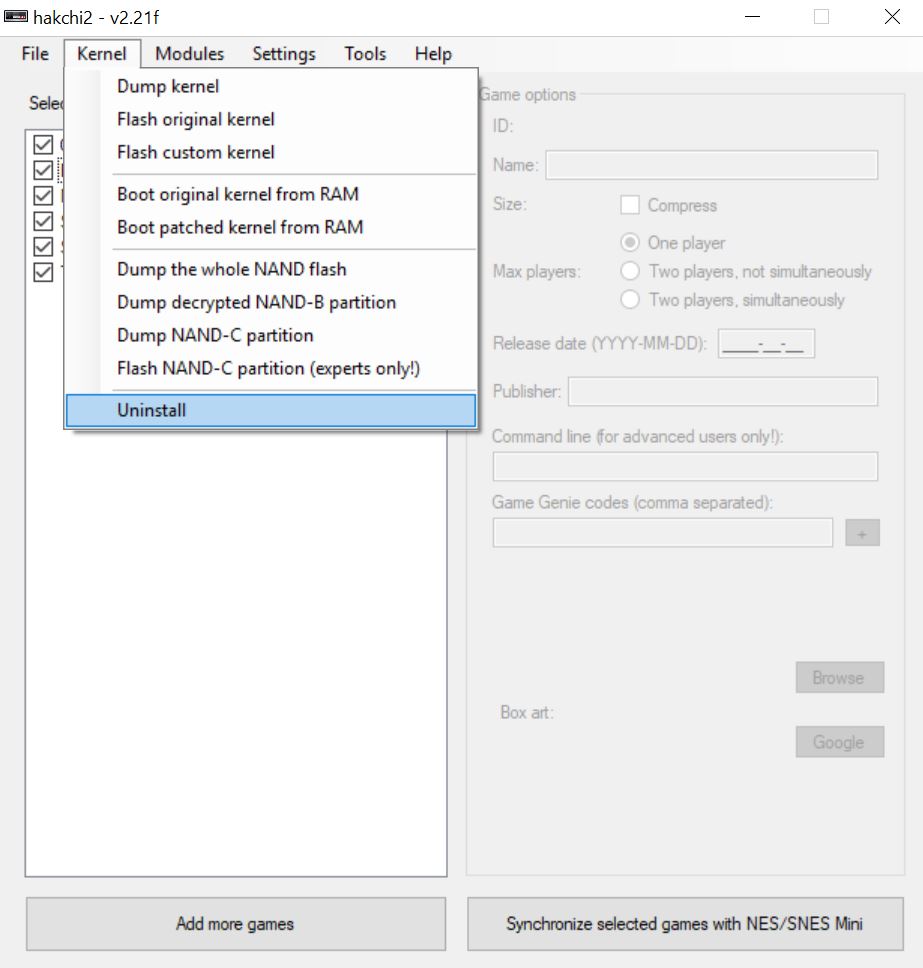
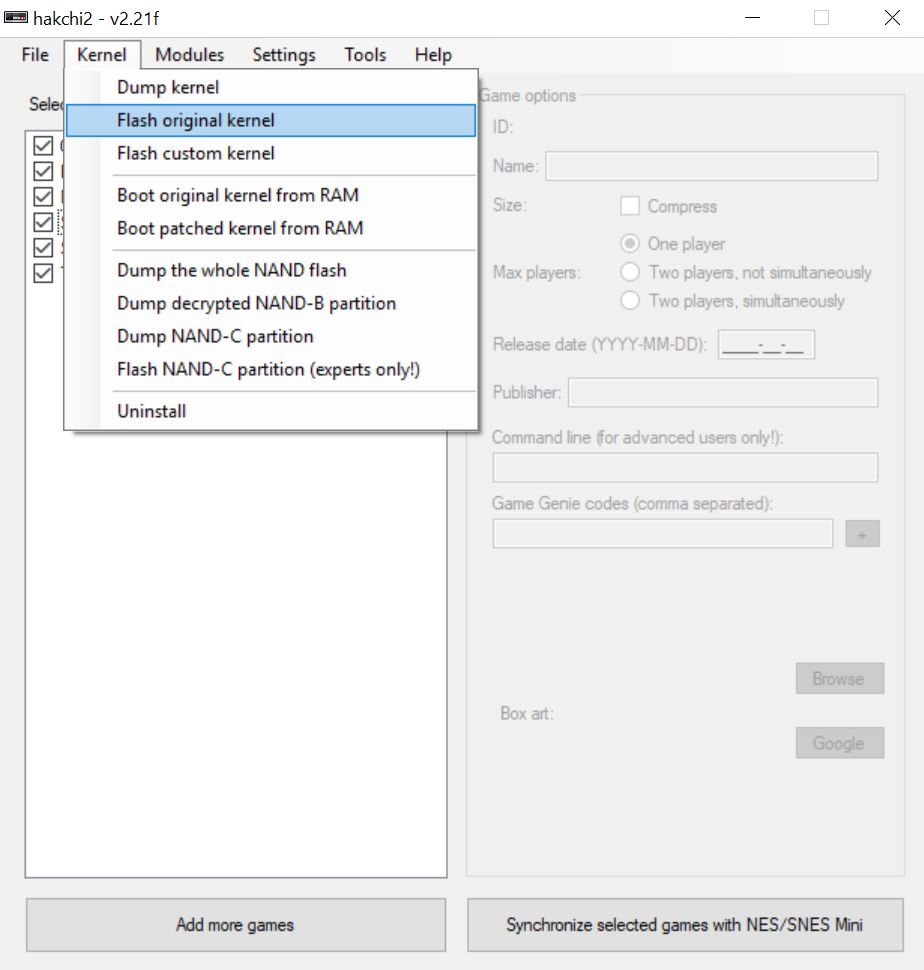
3. Open the old hakchi2 and go to Kernel > Uninstall and hit Yes.
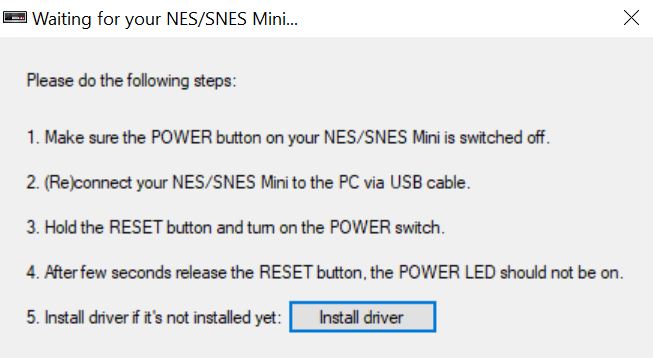
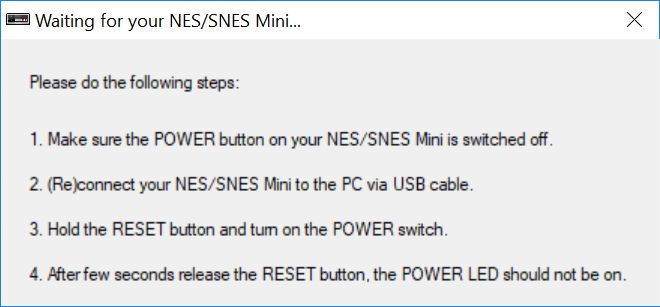
4. Follow the instructions on the screen and prepare your console.
5. Once completed, go to Kernel > Flash original kernel and hit Yes.
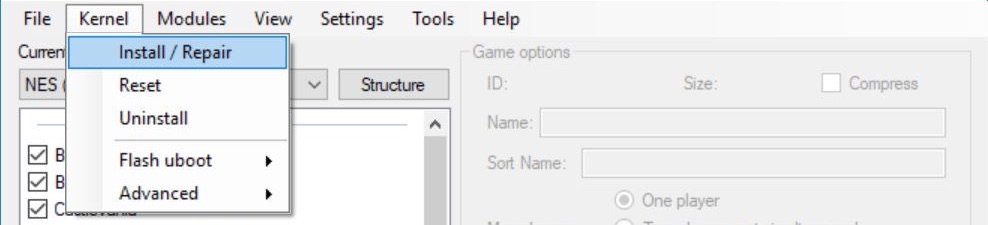
7. After the process is complete, exit out of the old hakchi and open hakchi2 CE. Now go to Kernel > Install / Repair and hit Yes.
8. Turn your console off and and reconnect your SNES Classic then follow the instructions on the screen and prepare your console.
You can now use hakchi2 CE to modify your SNES Classic.
If you have any questions please let us know in the comments field.
Will converting to CE delete any of your games, saves, or settings?
Step 2 of the tutorial transfers all of your games and modules to hakchi CE. Game saves are stored directly on the console and will not get deleted unless you factory reset the console.