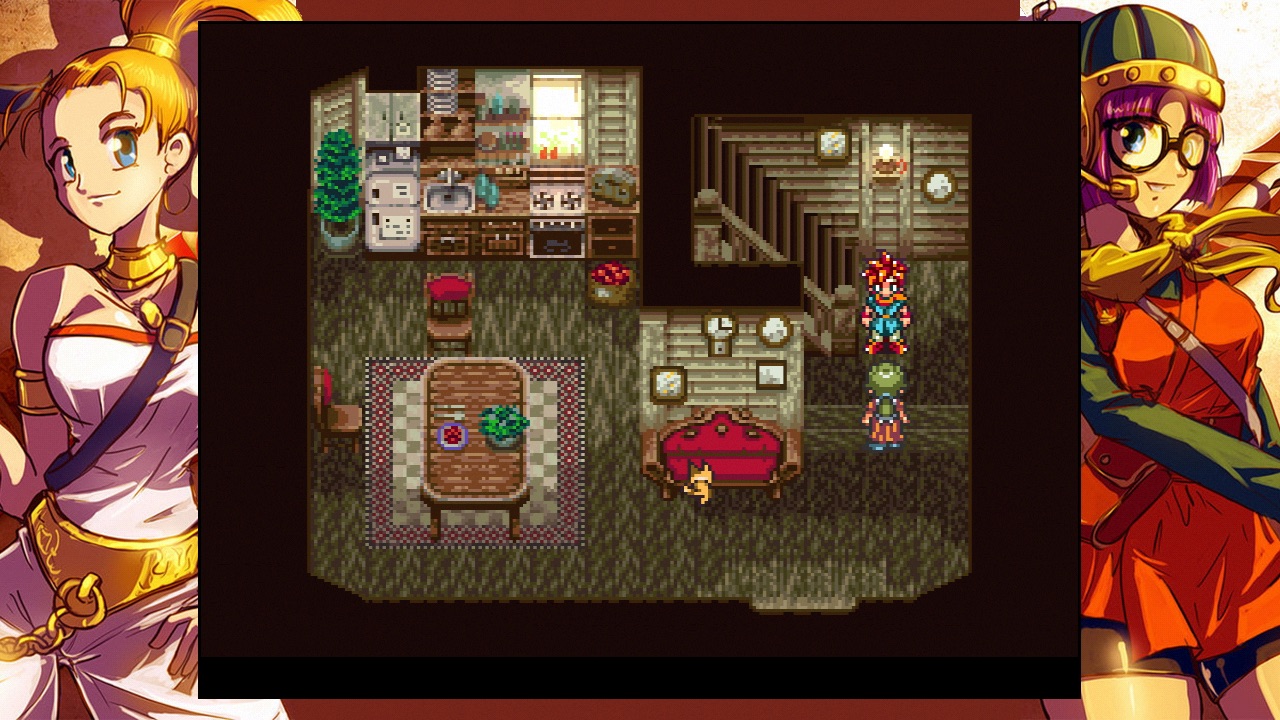
In our previous tutorial, we showed you how to add custom borders (also known as frames or backgrounds) to your SNES Classic. In this tutorial, we will show you how to set custom borders for each individual game. So you can have a Chrono Trigger themed background when you play Chrono Trigger or a Killer Instinct themed background when you play Killer Instinct.

This tutorial is the same and works for both the SNES Classic Mini and NES Classic Mini.
How-to Set Custom Borders / Backgrounds for Each Game on the SNES Classic
First, you will need to add custom borders to your console. Follow our tutorial here.
1. Launch hakchi2 CE, select a game, and edit the Command line. Add this line to the end of the existing command line (make sure there is a space before the --)
--use-decorative-frame /var/lib/hakchi/rootfs/usr/share/backgrounds/NAME_OF_FOLDER/NAME_OF_IMAGE
Replace NAME_OF_FOLDER with the name of the folder of the custom border you want to use and replace NAME_OF_IMAGE with the name of the image file inside the folder without the extension.
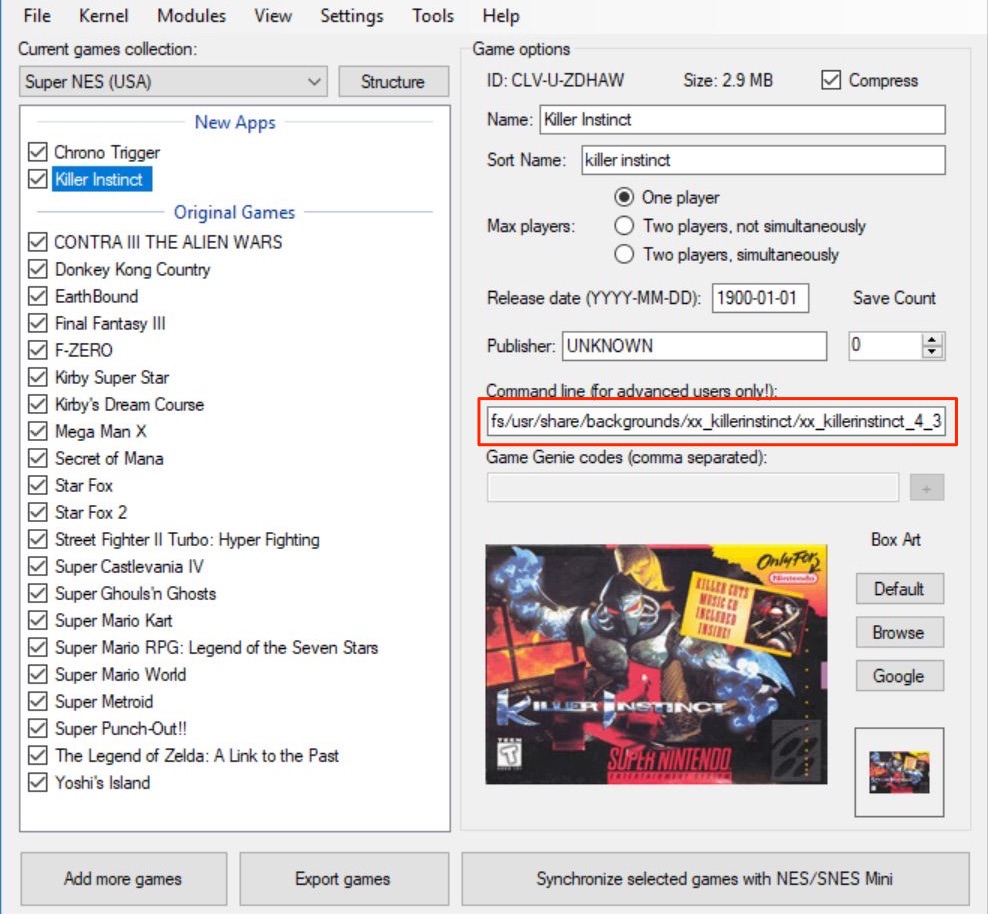
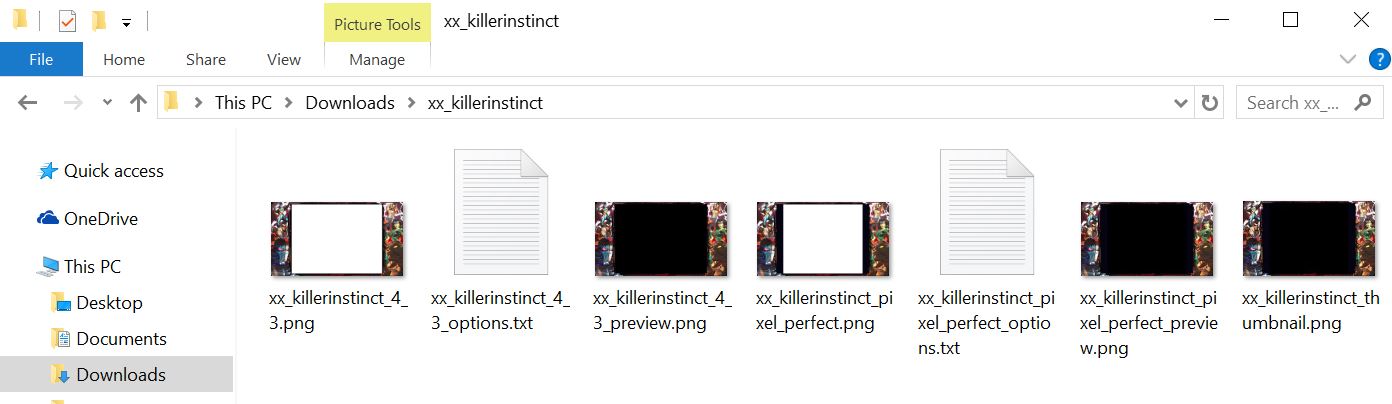
So, in this example I added a custom Killer Instinct themed border in a folder called "xx_killerinstinct". Inside the folder are several image and text files including "xx_killerinstinct_4_3.png" and "xx_killerinstinct_pixel_perfect.png".
So if I wanted to use the 4:3 image, I would add the following to the end of Killer Instinct's command line:
--use-decorative-frame /var/lib/hakchi/rootfs/usr/share/backgrounds/xx_killerinstinct/xx_killerinstinct_4_3
If I wanted the pixel perfect border, I would use "xx_killerinstinct_pixel_perfect" at the end instead.
The entire command line looks like this:
/bin/clover-canoe-shvc-wr -rom /usr/share/games/CLV-U-ZDHAW/Killer_Instinct_(USA).sfrom.7z --volume 100 -rollback-snapshot-period 600 --use-decorative-frame /var/lib/hakchi/rootfs/usr/share/backgrounds/xx_killerinstinct/xx_killerinstinct_4_3
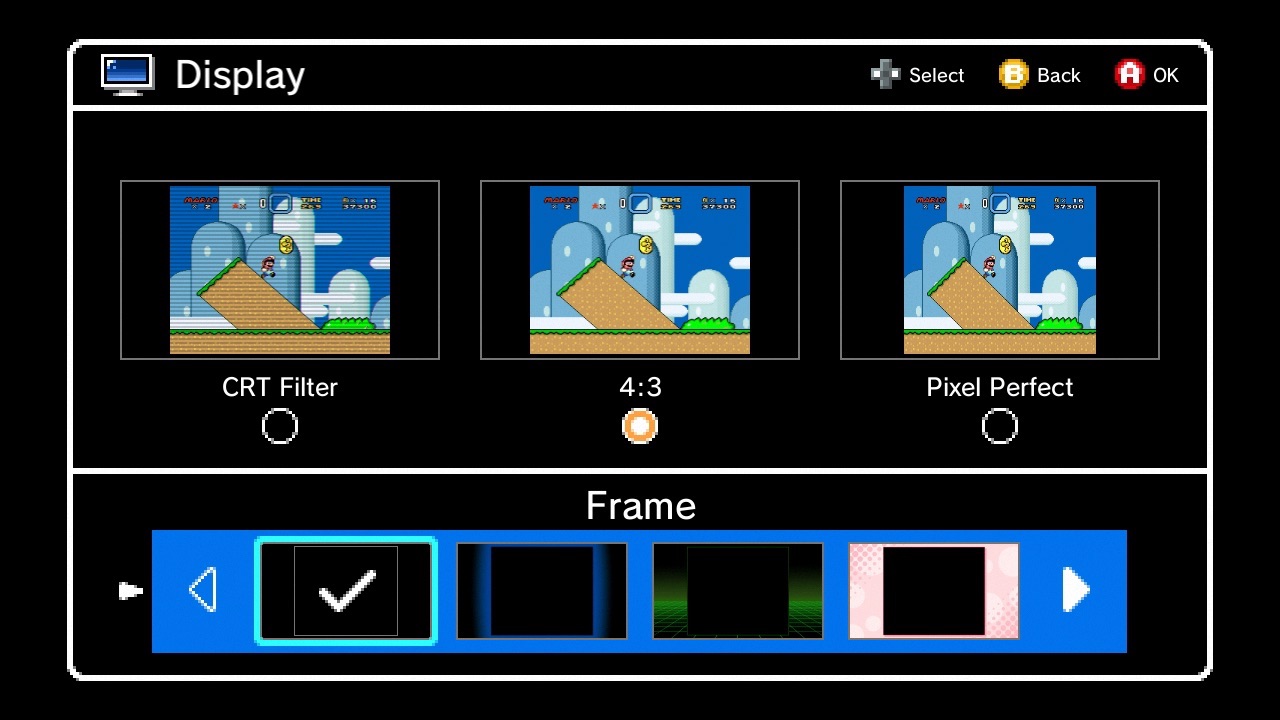
2. Go to the Display settings on the SNES Classic and make sure the first frame (the completely black one) is selected, otherwise your custom frames for individual games will not display. All other frames besides the first one will overwrite the command line code.
If you have any questions, please leave it in the comments below.
Credits: Robin64 of NeoGAF forum