Hakchi2 CE is constantly being updated with new features and bug fixes. This tutorial will show you how to correctly update hakchi2 CE to the latest version for your SNES Classic Mini without losing your data.
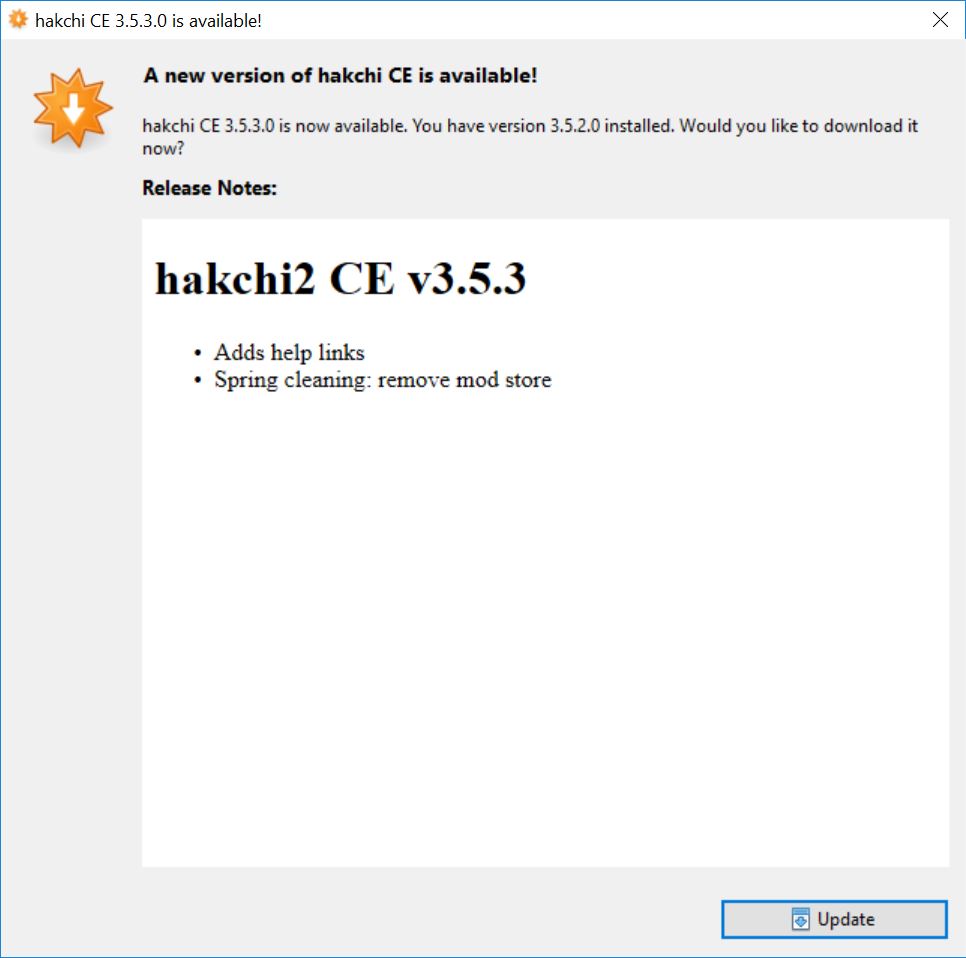
The later versions of hakchi2 CE automatically prompts an updates when a new version is available. However, if you are on an older version of hakchi2 CE that does not auto-update, this tutorial will help you update to the latest version.
How-to Update hakchi2 for SNES Classic Mini
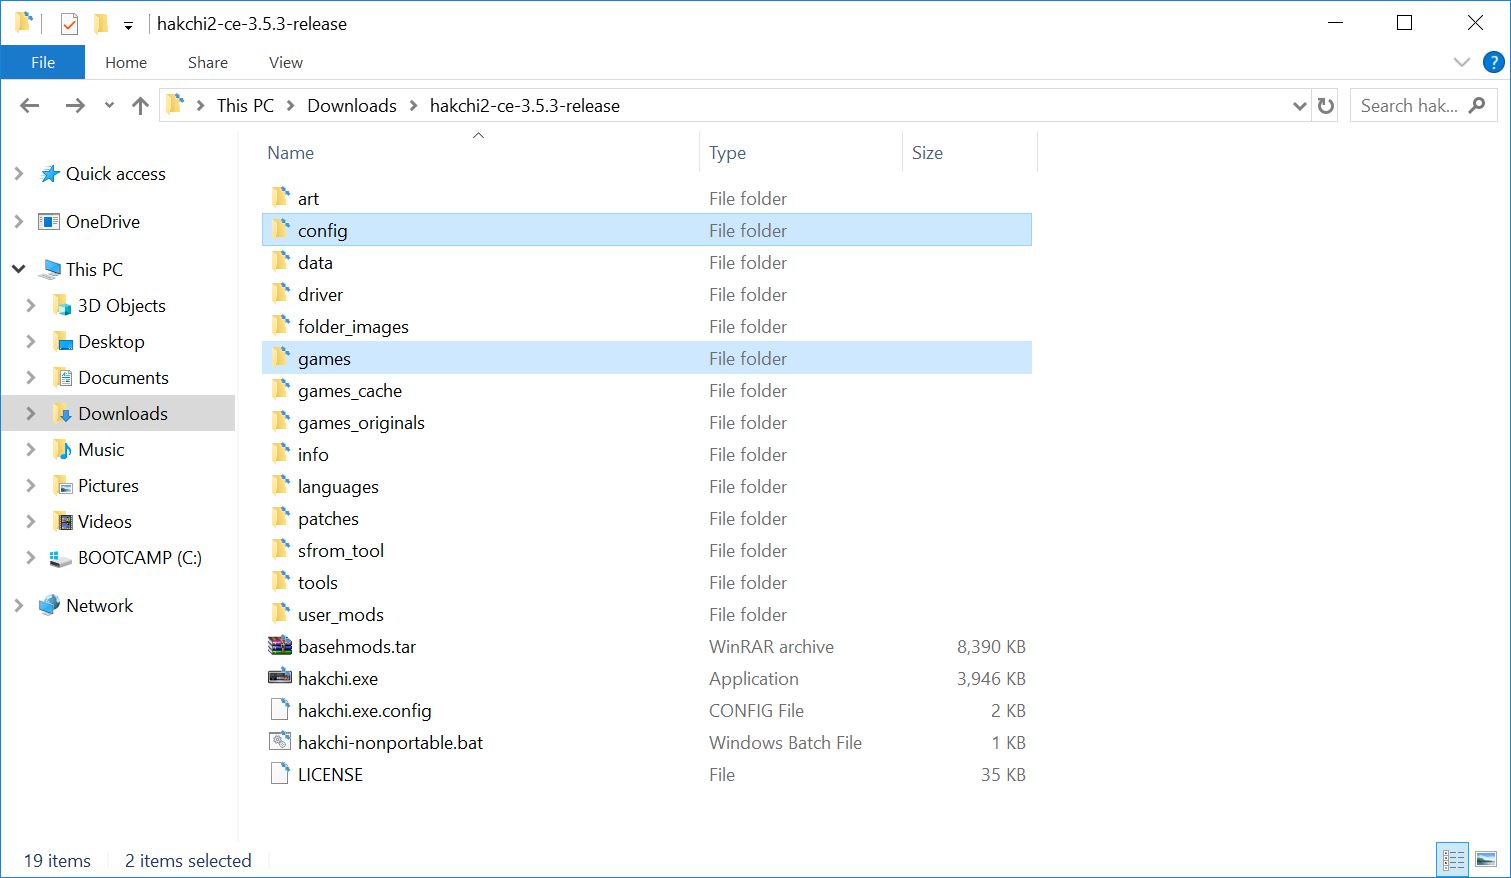
1. Download the latest version hakchi2 CE (hakchi2-CE-#.#.#-release.zip) and extract it to your computer. Copy over the config and games folder from the old hakchi folder to the new.
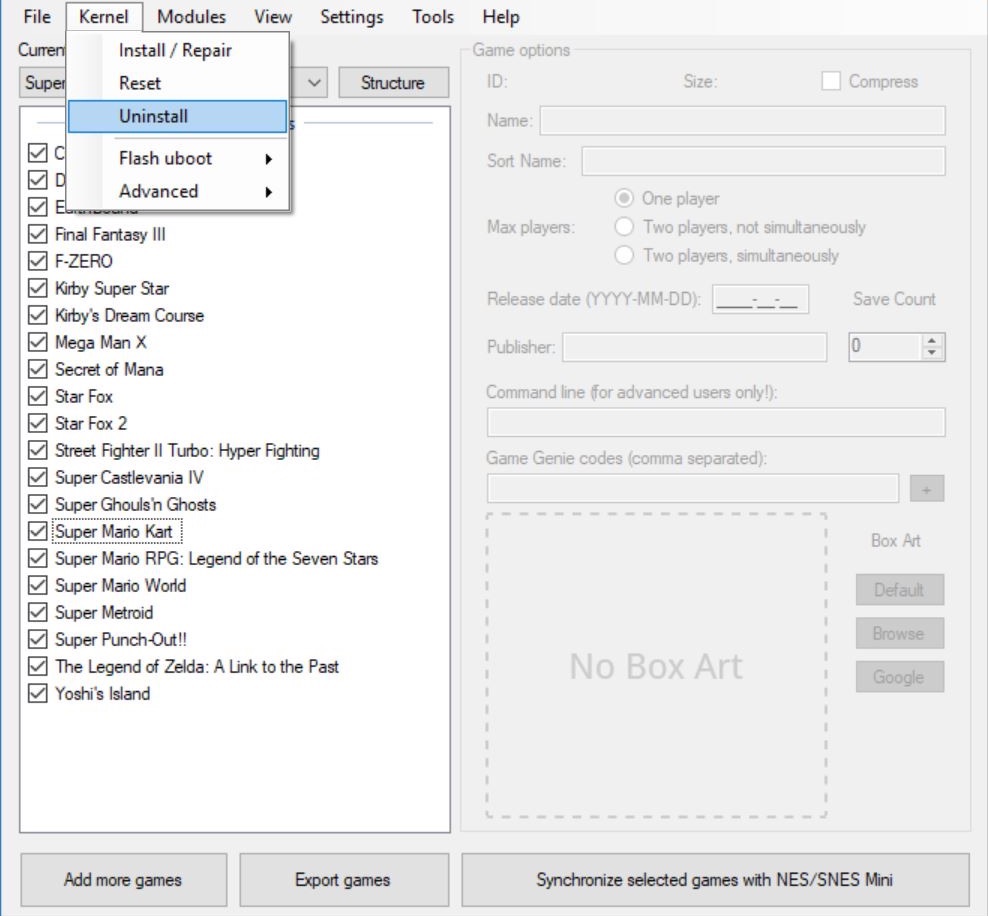
2. Launch the old hakchi2 CE and go to Kernel > Uninstall. Press Yes when prompted to.
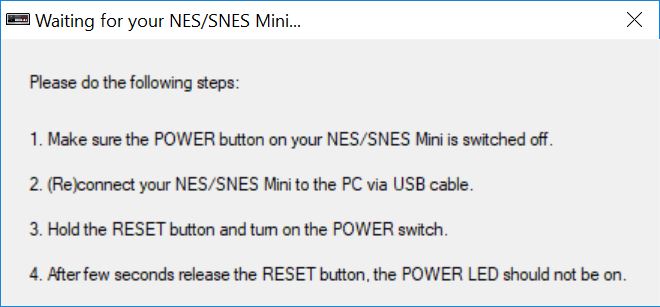
3. Follow the instructions on the screen.
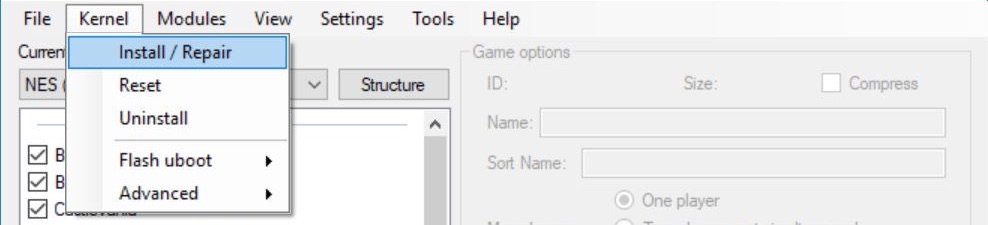
4. Once the process is complete. Open the new hakchi2 CE and go to Kernel > Install / Repair. Press Yes when prompted to.
5. Make sure your SNES Classic Mini is connected to your computer and follow the instructions on the hakchi screen.
You are now on the newest version of hakchi2 CE with all of your games and data. Please note that if a version of hakchi is working fine for you there may be no reason to update. Read the release notes for each version to see if it is worth updating.
If you have any questions please let us know in the comments field.