This tutorial will show you step-by-step how to add more games (ROMs) to the SNES Classic Mini. The SNES Classic comes with 300 mb of storage but the 21 preinstalled games only takes up about 87 mb. This means you can add a lot more games to the console. Basically, we're going to convert a ROM file to a SNES Classic readable ROM file and sideload it to the console using hakchi.
Update: This tutorial is outdated. Check out our new tutorial here (it's so much easier).
Requirements:
This tutorial requires a Windows computer.
Files Needed:
How-To Add Games to Your SNES Classic
1. Download hakchi and extract it your computer.
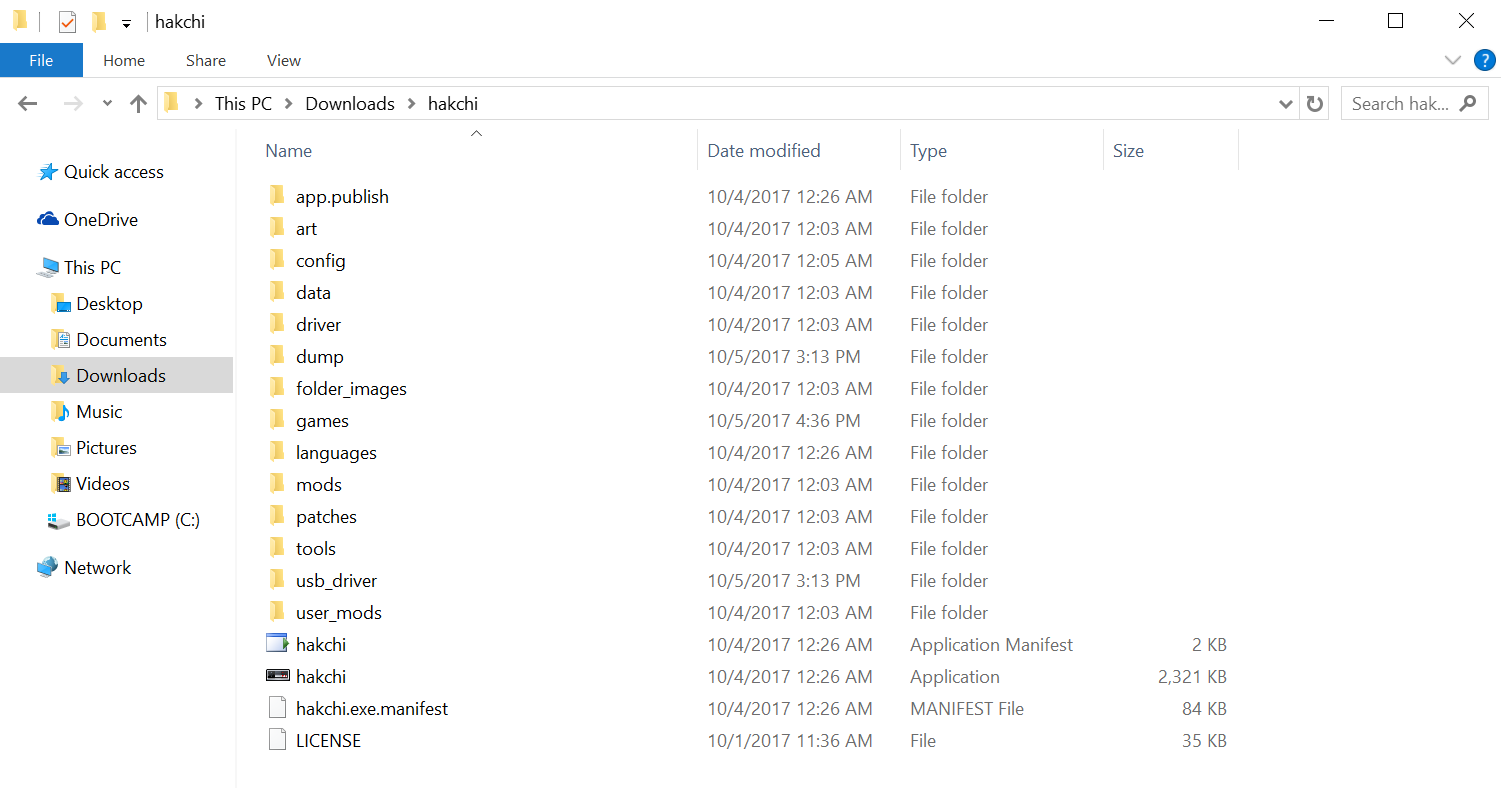
2. Open the hakchi folder and run hakchi.exe.
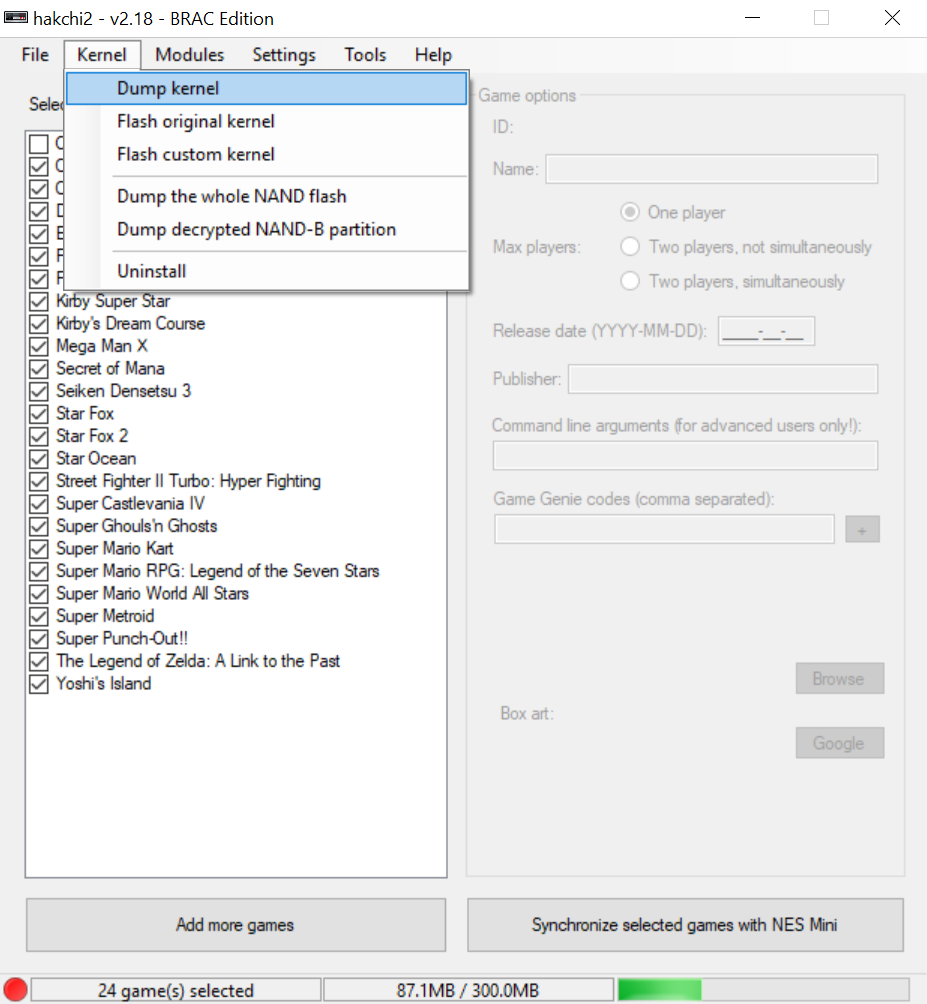
3. Go to Kernel > Dump kernel and hit Yes.
4. Now follow the steps on the screen and install driver (note: hakchi was designed for the NES Mini but it works for SNES Mini as well).
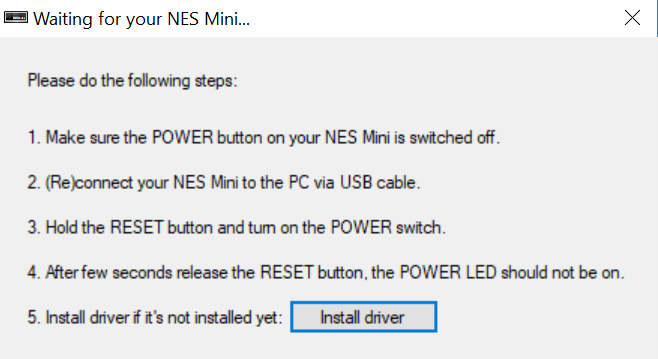
You may get a CHECKSUM error, just hit OK and it will proceed.
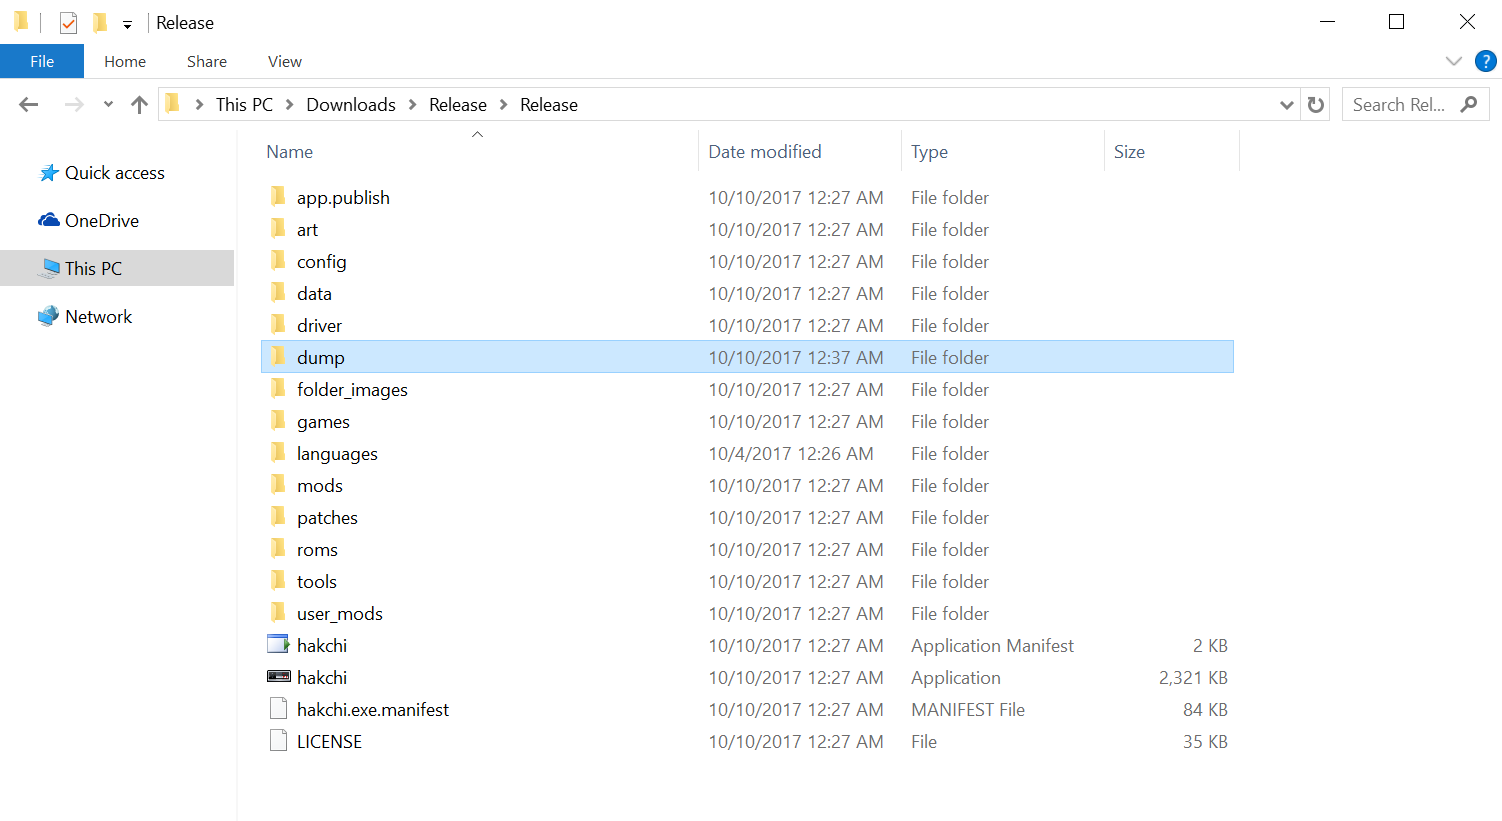
5. After the process is complete, a new folder named "dump" will appear in the hakchi folder. Inside this folder is a backup of your SNES Classic data in case anything goes wrong.
6. Now go back to hakchi and go to Kernel > Flash custom kernel and hit Yes.
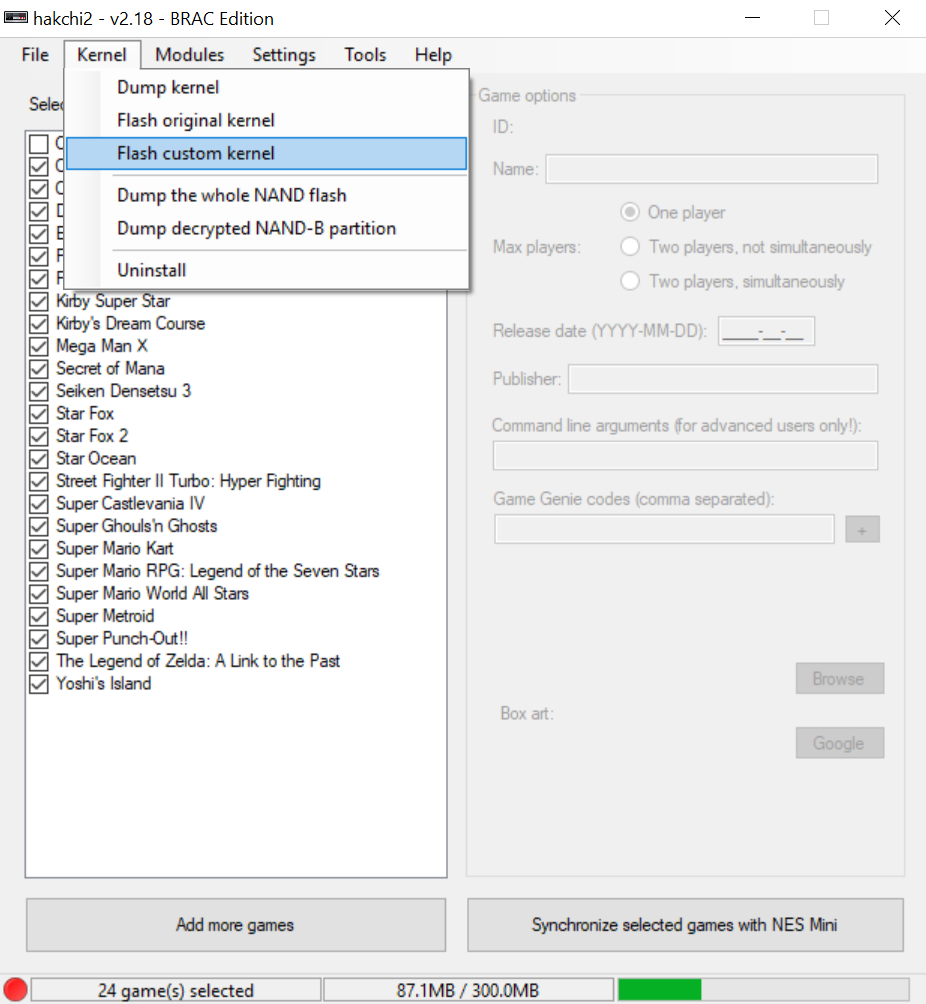
Once the process is finished, hit OK.
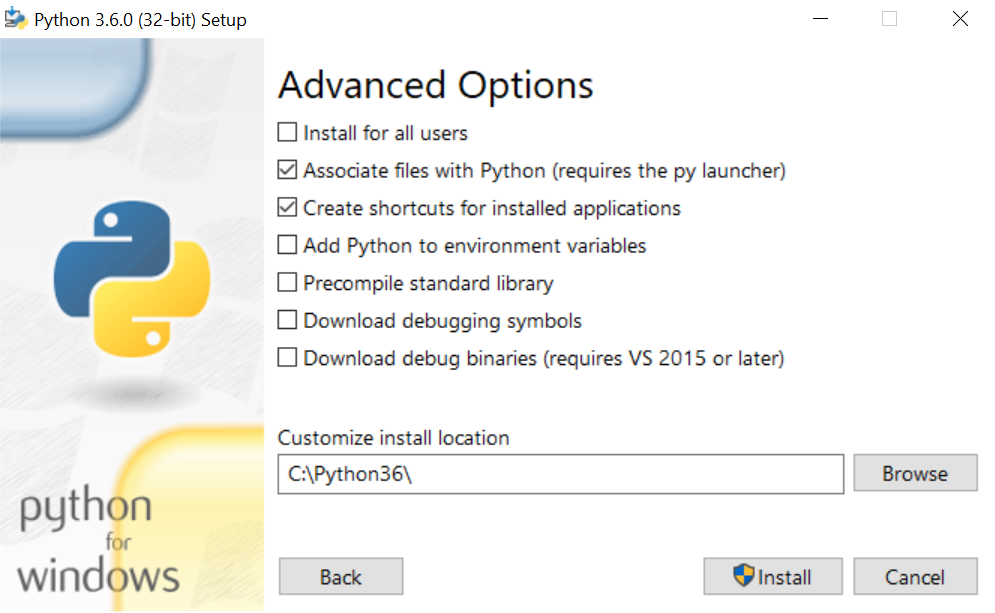
7. Install Python to your computer - download the executable installer and press Customize installation > Next > and change the Customize install location to: C:\Python36\
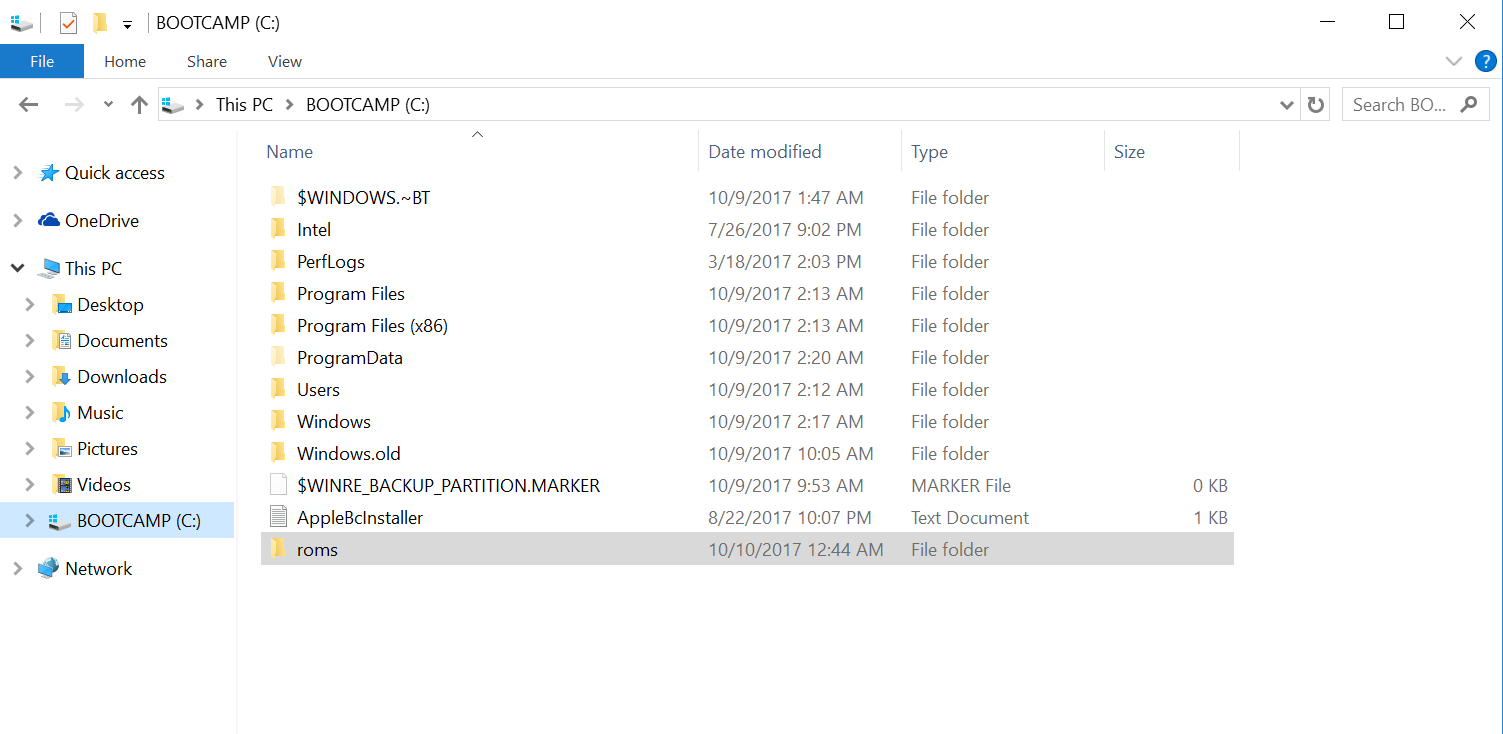
8. Create a new folder named "roms" in the C: Drive.
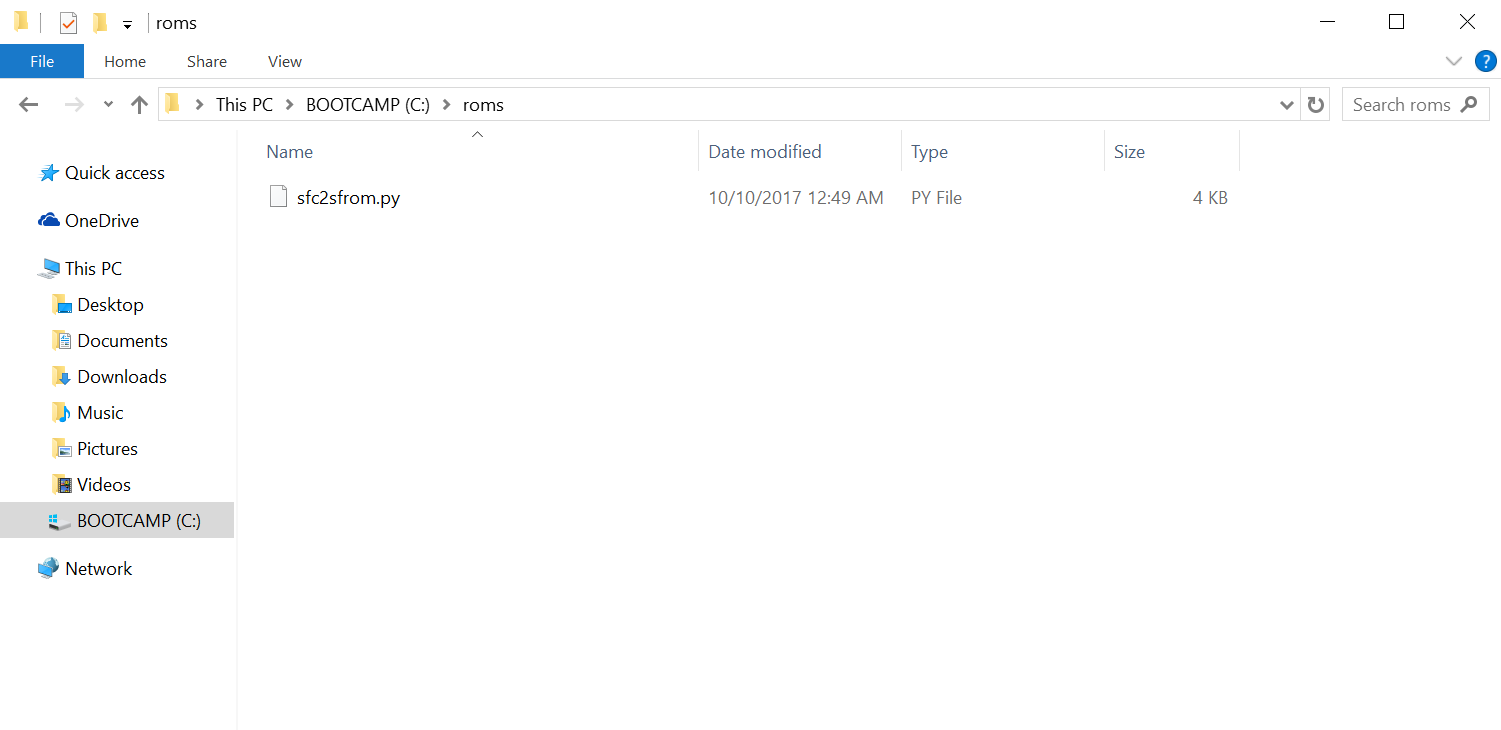
9. Download sfc2sfrom.py (click Download ZIP on github) - extract the file and move the "sfc2sfrom.py" file into the "roms" folder.
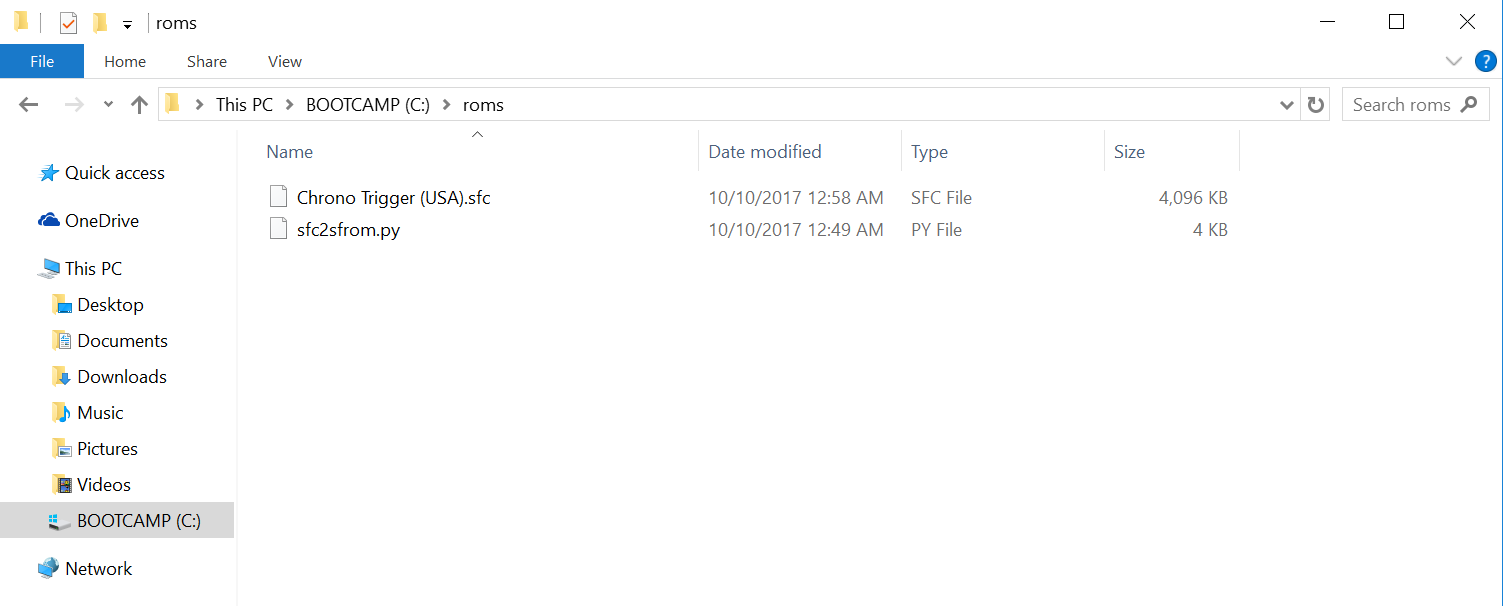
10. Now download the ROM you wish to sideload to your SNES Classic and move it into the "roms" folder. The ROM file extension must end in .SFC or .SMC.
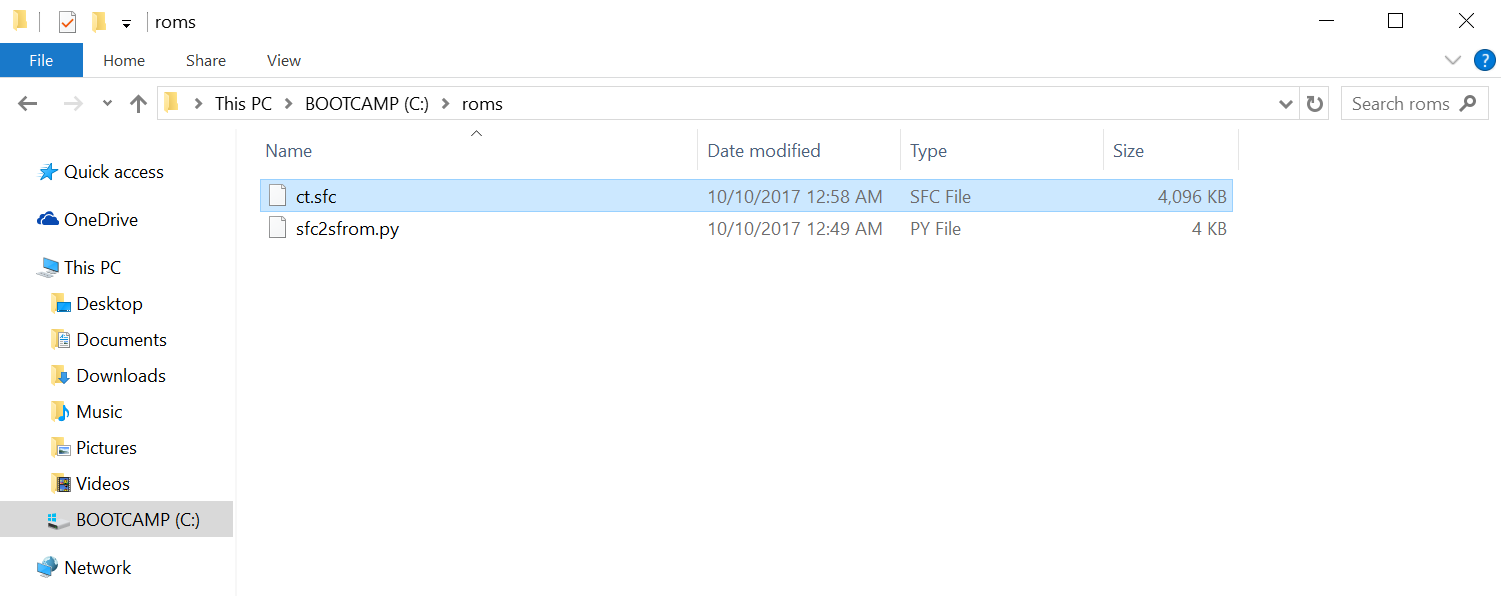
11. Rename the ROM file to something easy to type like the initials of the game's title (this will make it easier for you later on).
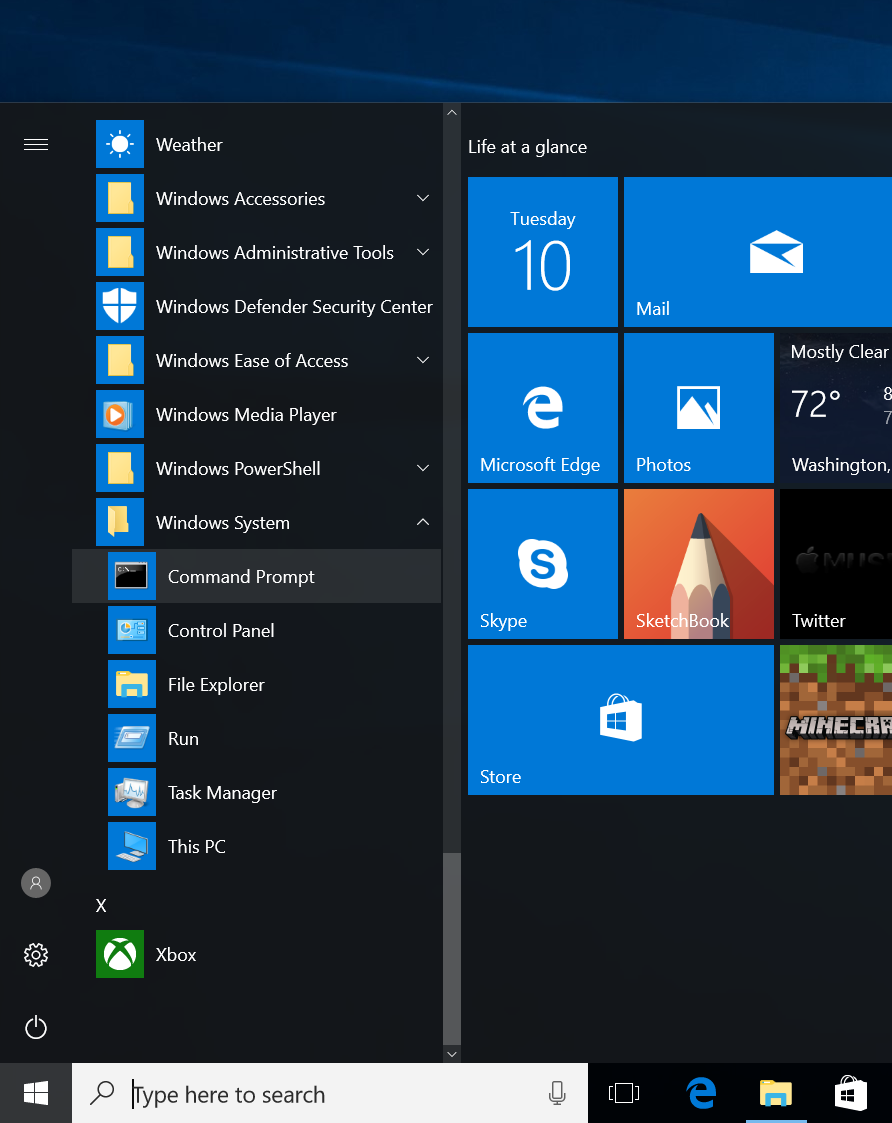
12. Open Command Prompt - you can search "command prompt" using Window's search or go to the Startup menu > Windows System > Command Prompt.
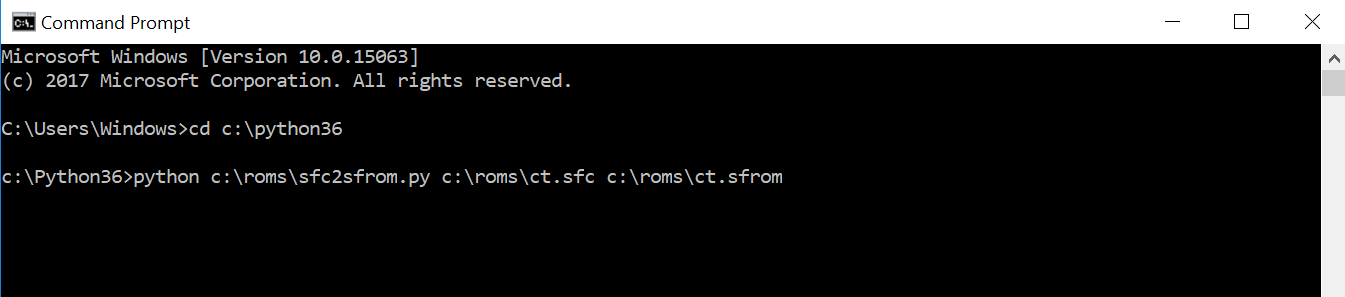
13. In the Command Prompt, type:
cd c:\python36
Press enter.

14. Now type:
python c:\roms\sfc2sfrom.py c:\roms\<name of ROM with extension> c:\roms\<name of ROM with .sfrom extension>
Here's what it will look like in my example (noticed I replaced the name of ROM with my ROM name, "ct":
15. There should be a new file with the extension .sfrom in your "roms" folder.

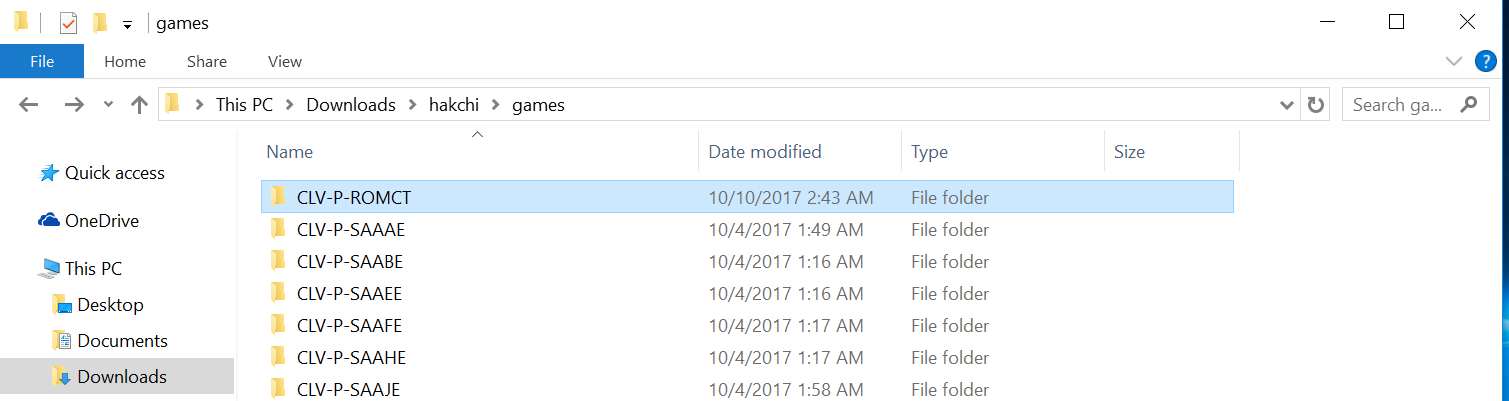
16. Now go back to the hakchi folder and open the "games" folder.
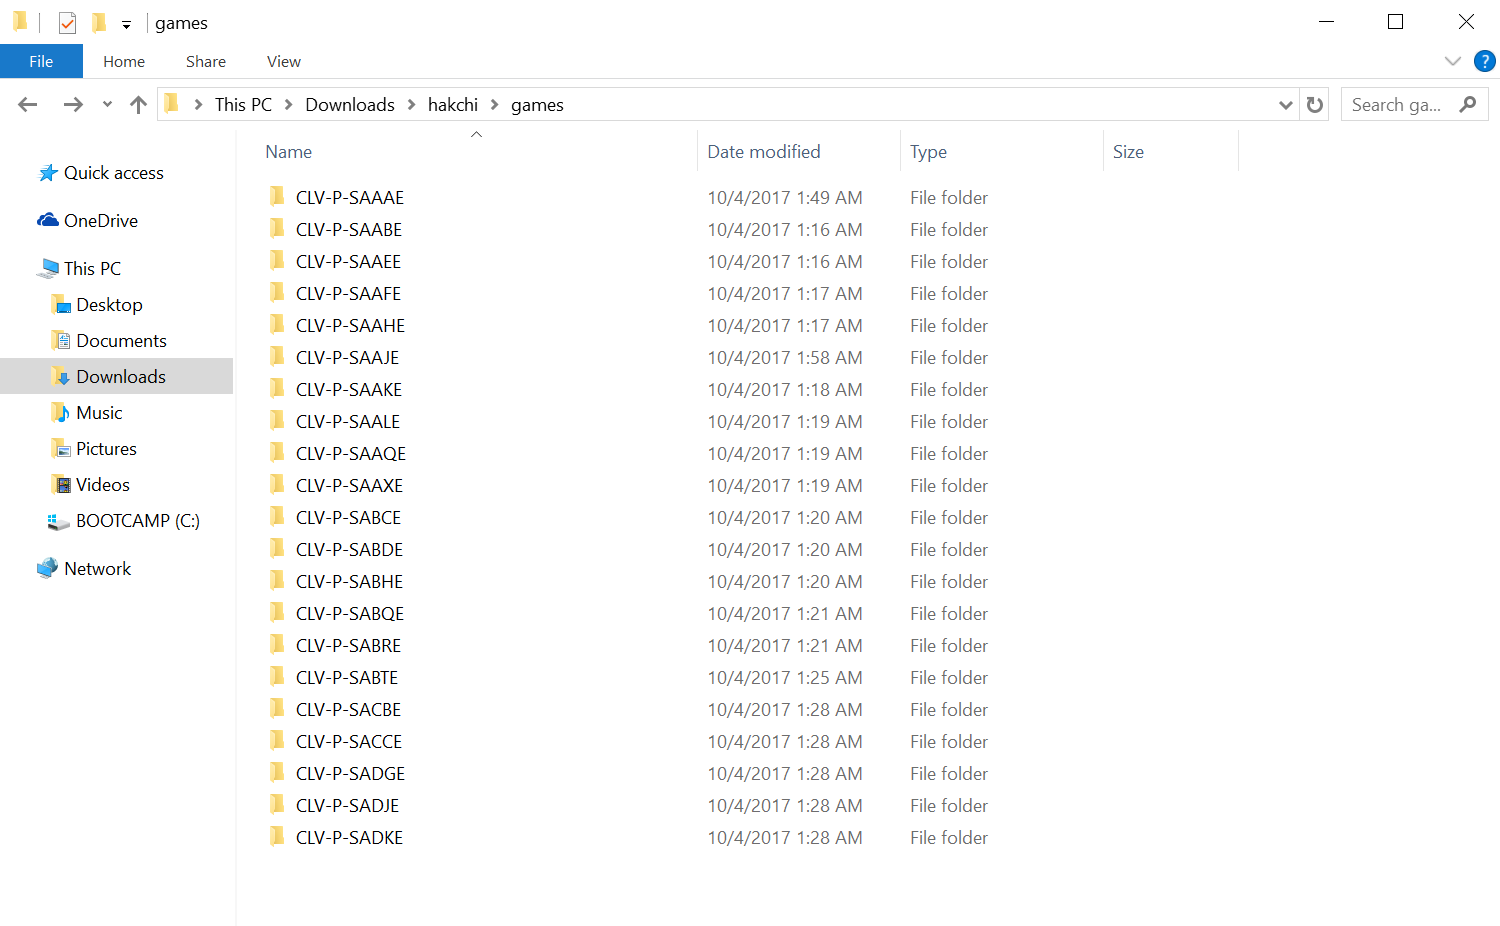
17. Create a duplicate of one of the folders (with all of the files inside).
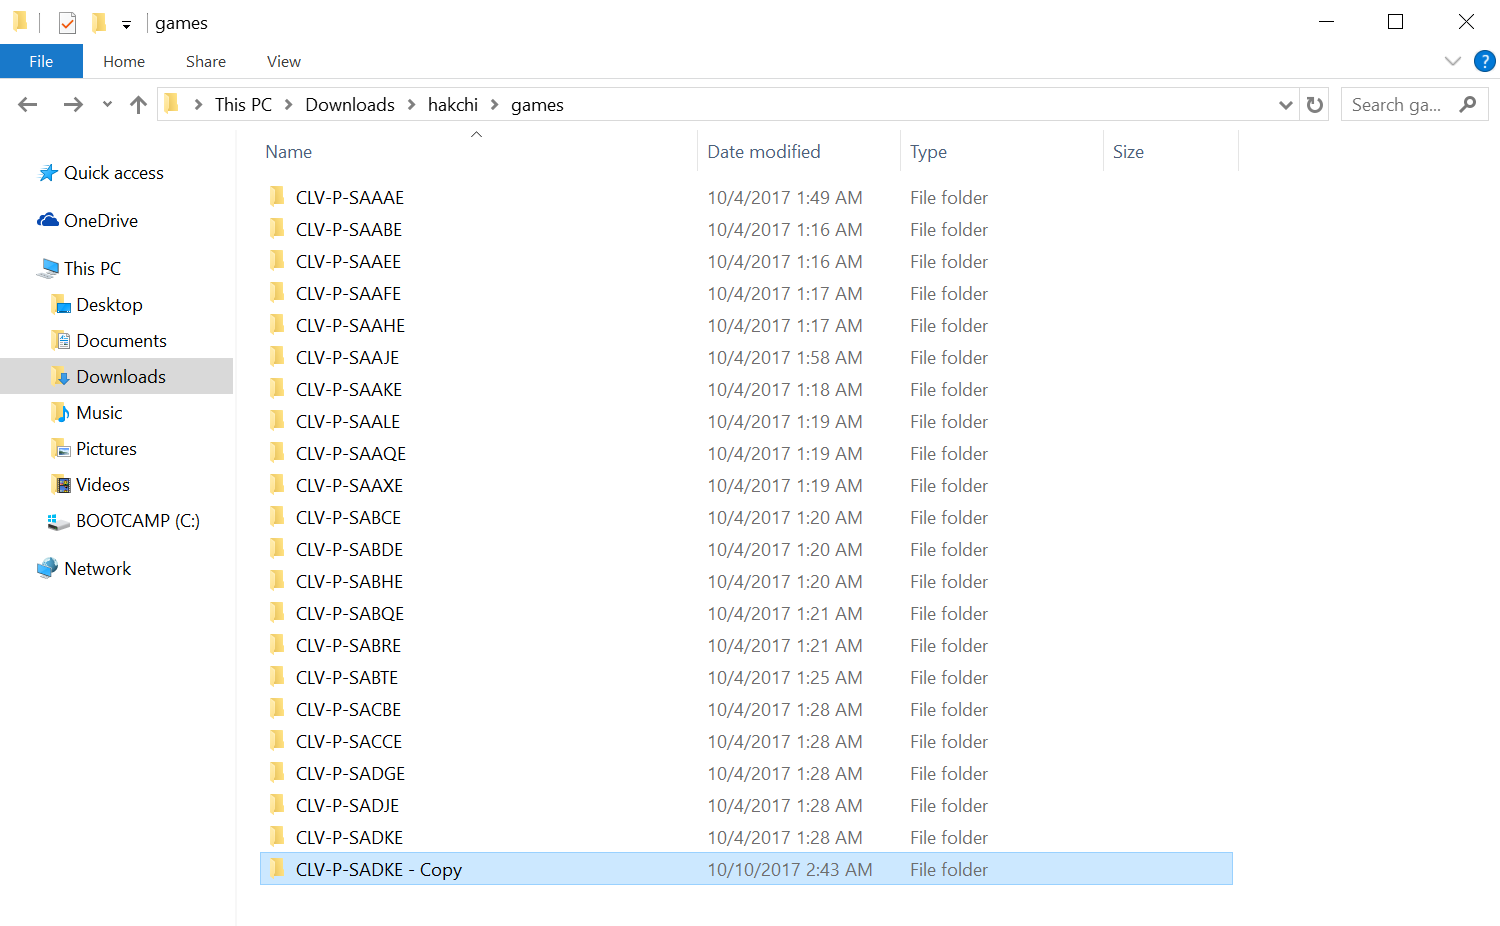
18. Rename the last five characters of the folder to something unique. We recommend "CLV-P-ROM<Initials of game>" (example: CLV-P-ROMCT (for Chrono Trigger)).
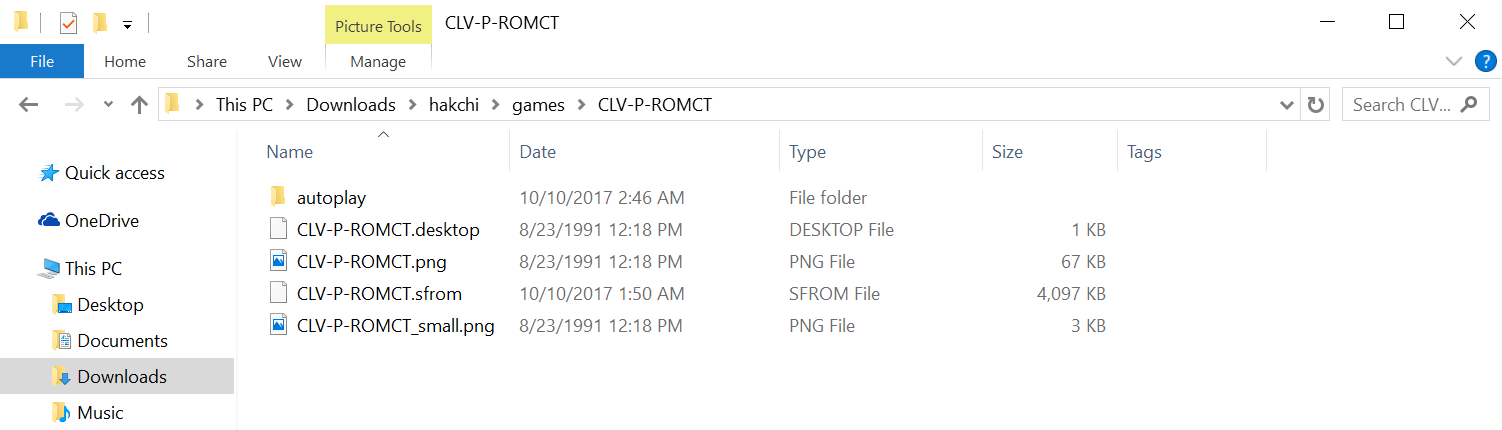
19. Open the folder.
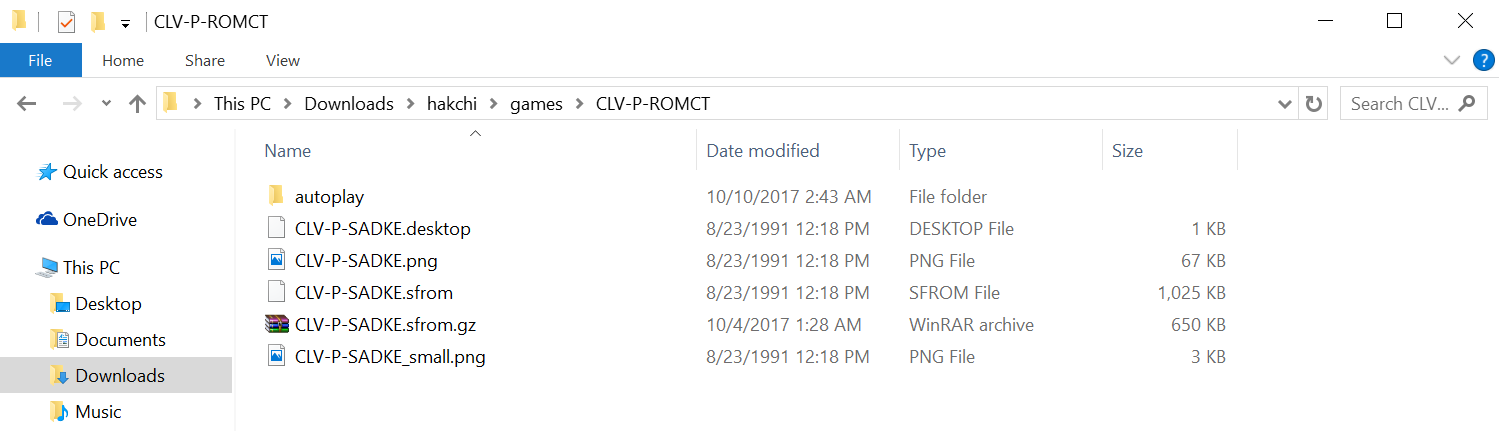
20. Delete the two files ending in .sfrom and .gz.
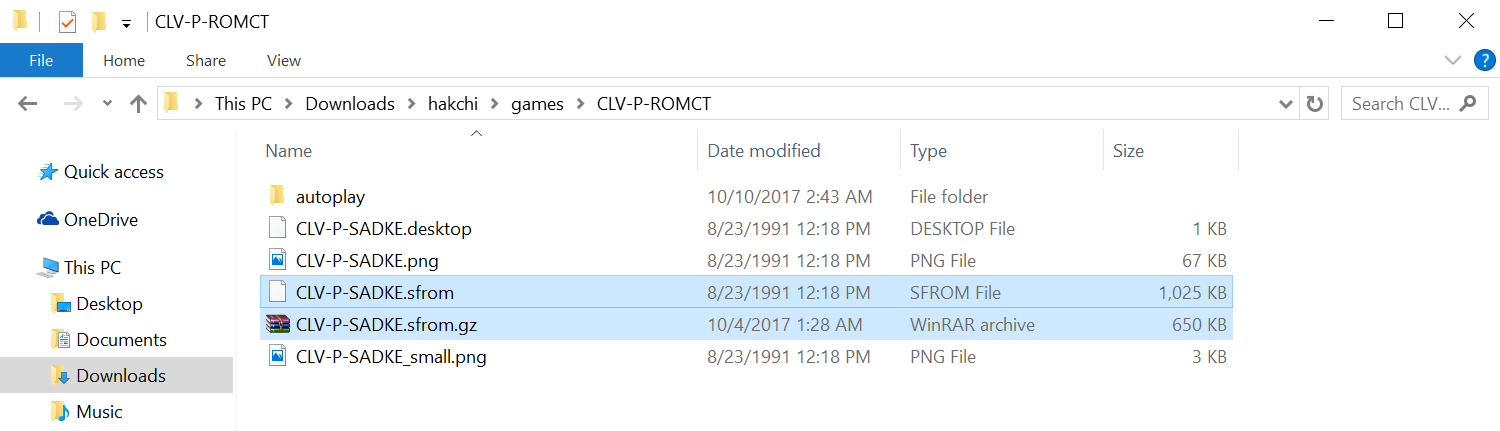
21. Move your converted ROM file from step 15 into the new folder.
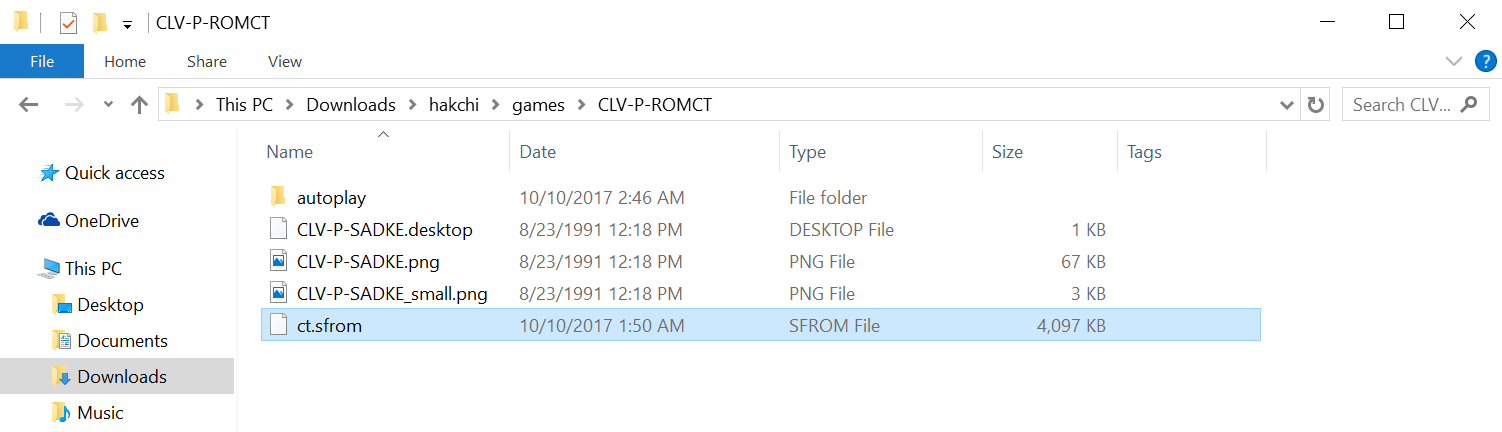
22. Rename the files in folder (including the ROM file) and replace all instances of "CLV-P-#####" with the new name.
23. Install Notepad++.

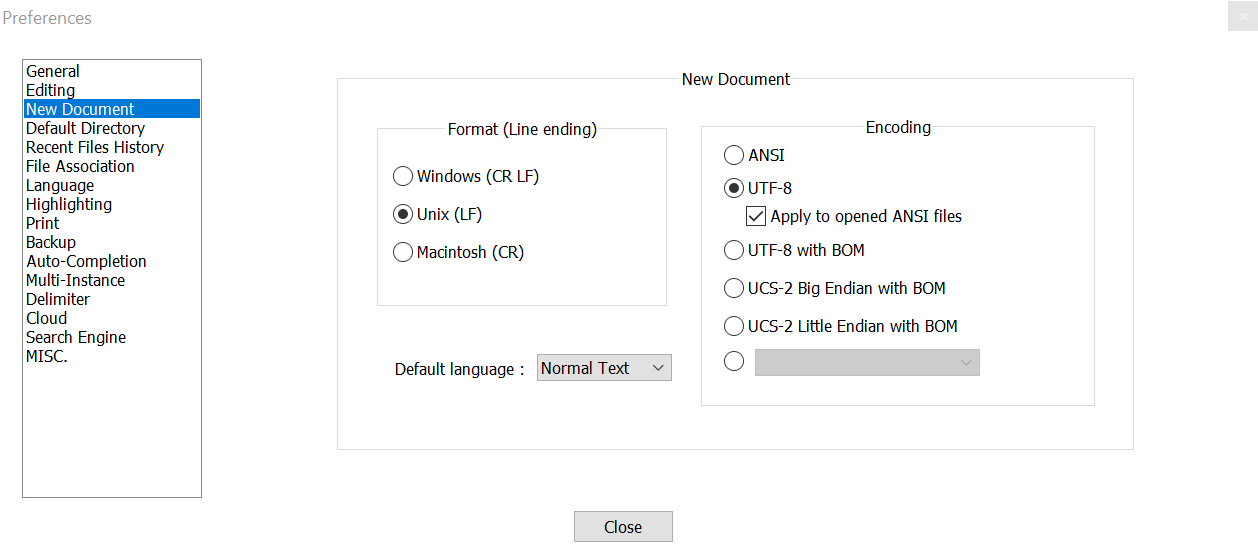
24. Run Notepad++ and go to Settings > Preferences > New Document and select Unix for the Format and hit Close.
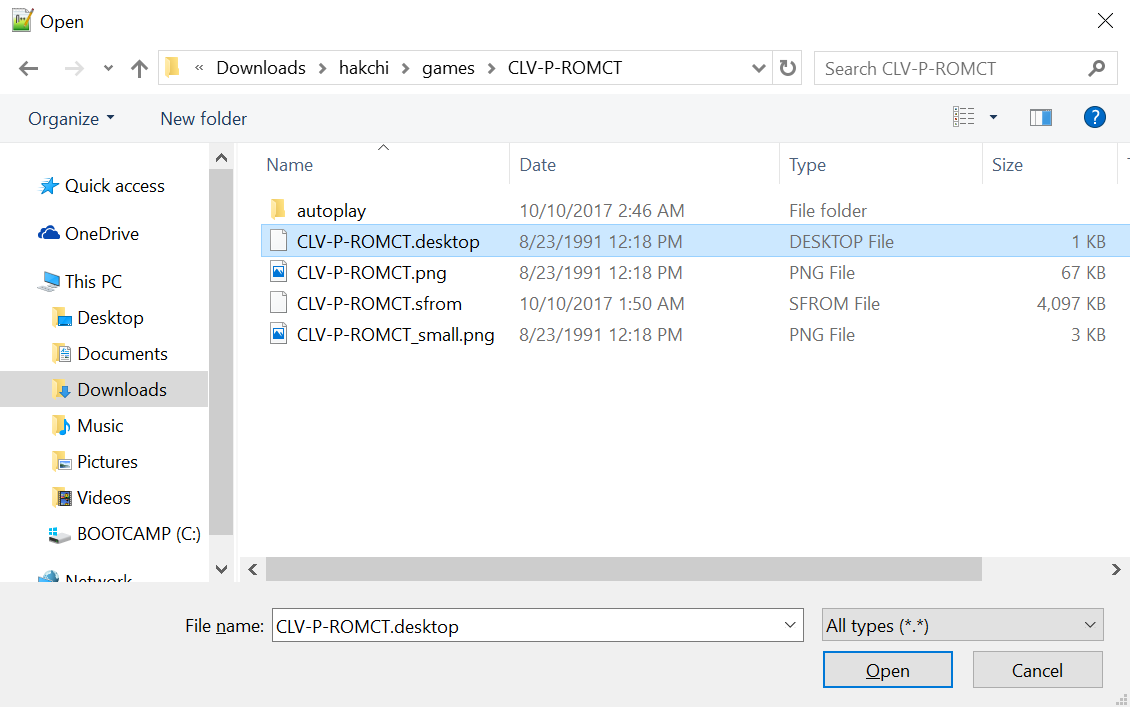
25. Now go to File > Open and open the .desktop file in your CLV-P-ROM folder.
26. Replace all instances CLV-P-##### to the new name.
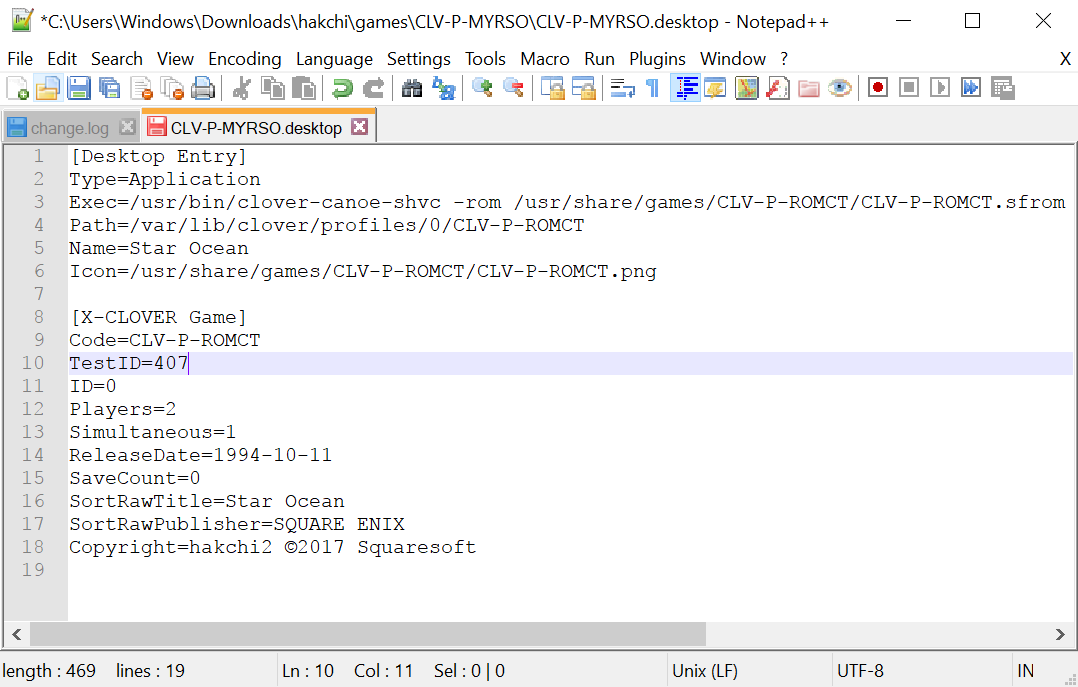
Example before:
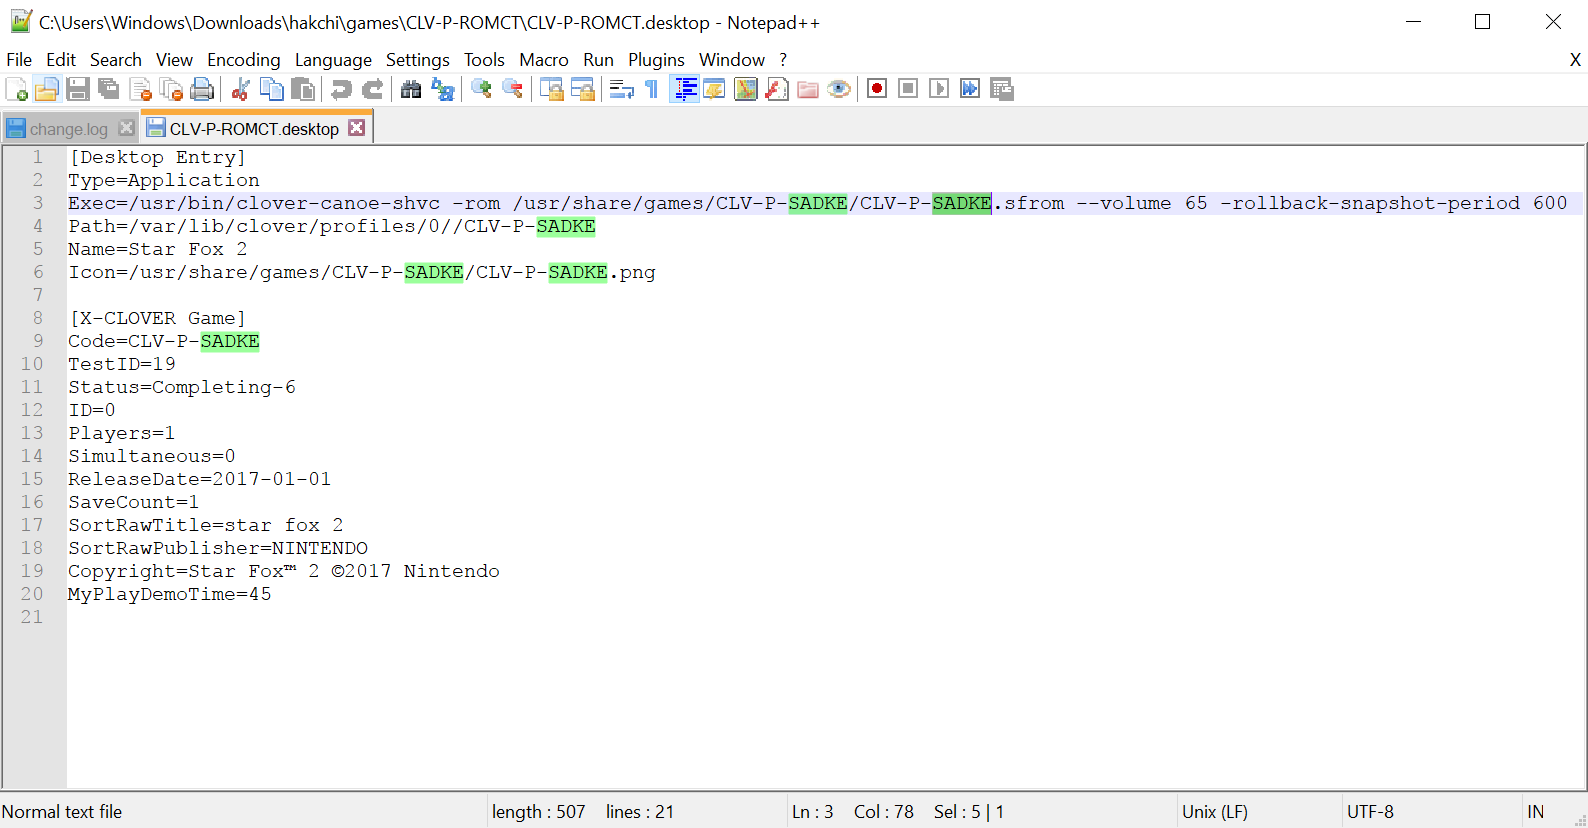
Example after:

27. Change the Name and SortRawTitle field to the title of the game.
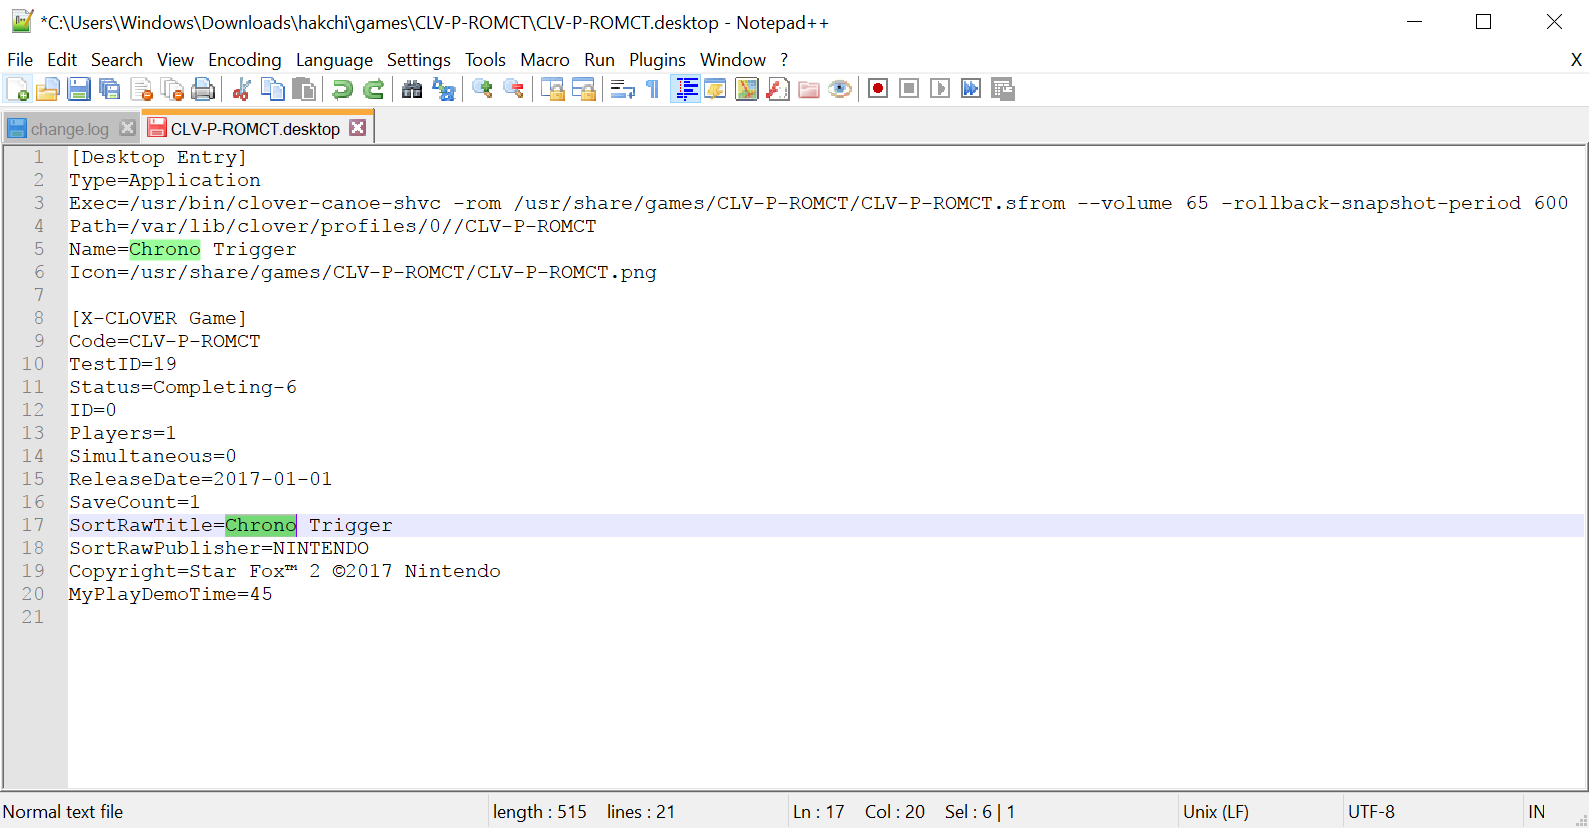
28. Change Test ID to a random 3 digit number (higher than 200).
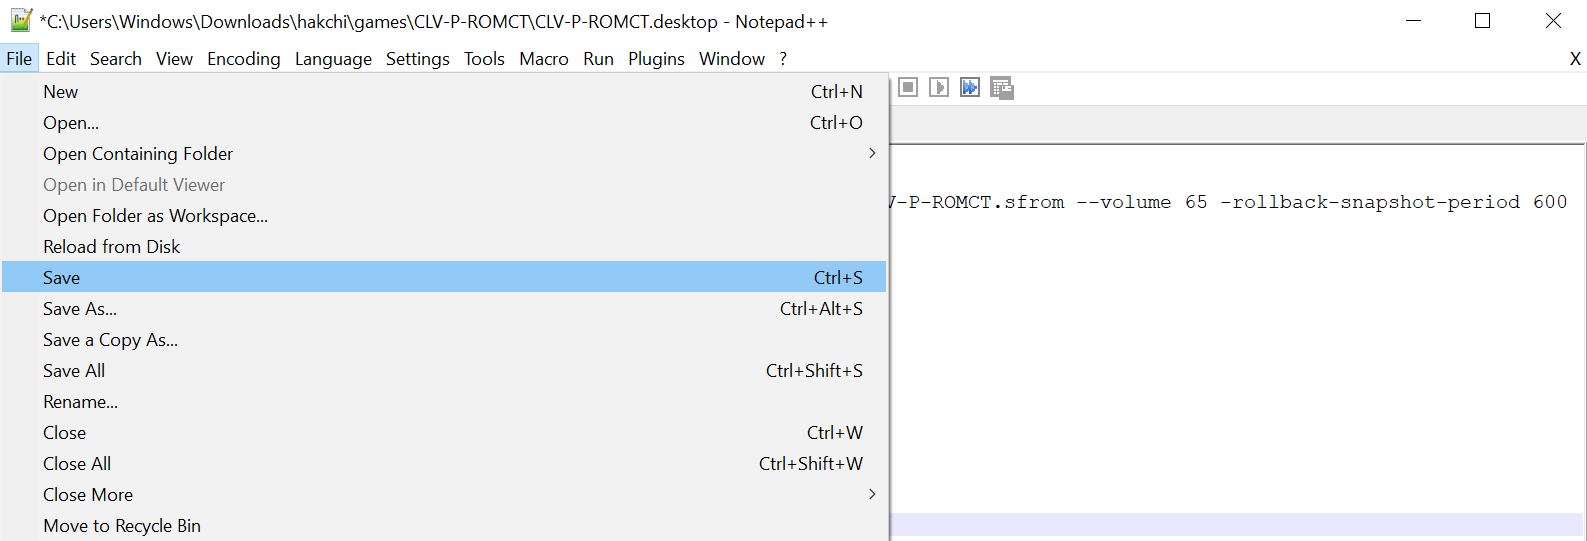
29. Go to File and hit Save.
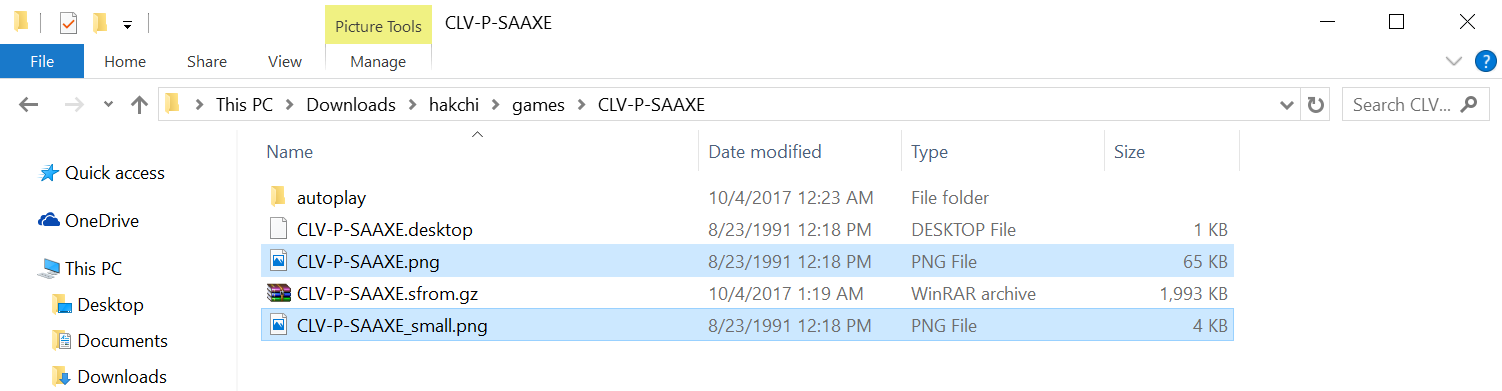
29. (Optional) The two files ending in .png in the folder are the box art displayed in the game selection screen. You can replace these two files with the box art of the new game. Make sure the image size are the same. The image size is 228x160 for the regular size and 40x28 for the small size.
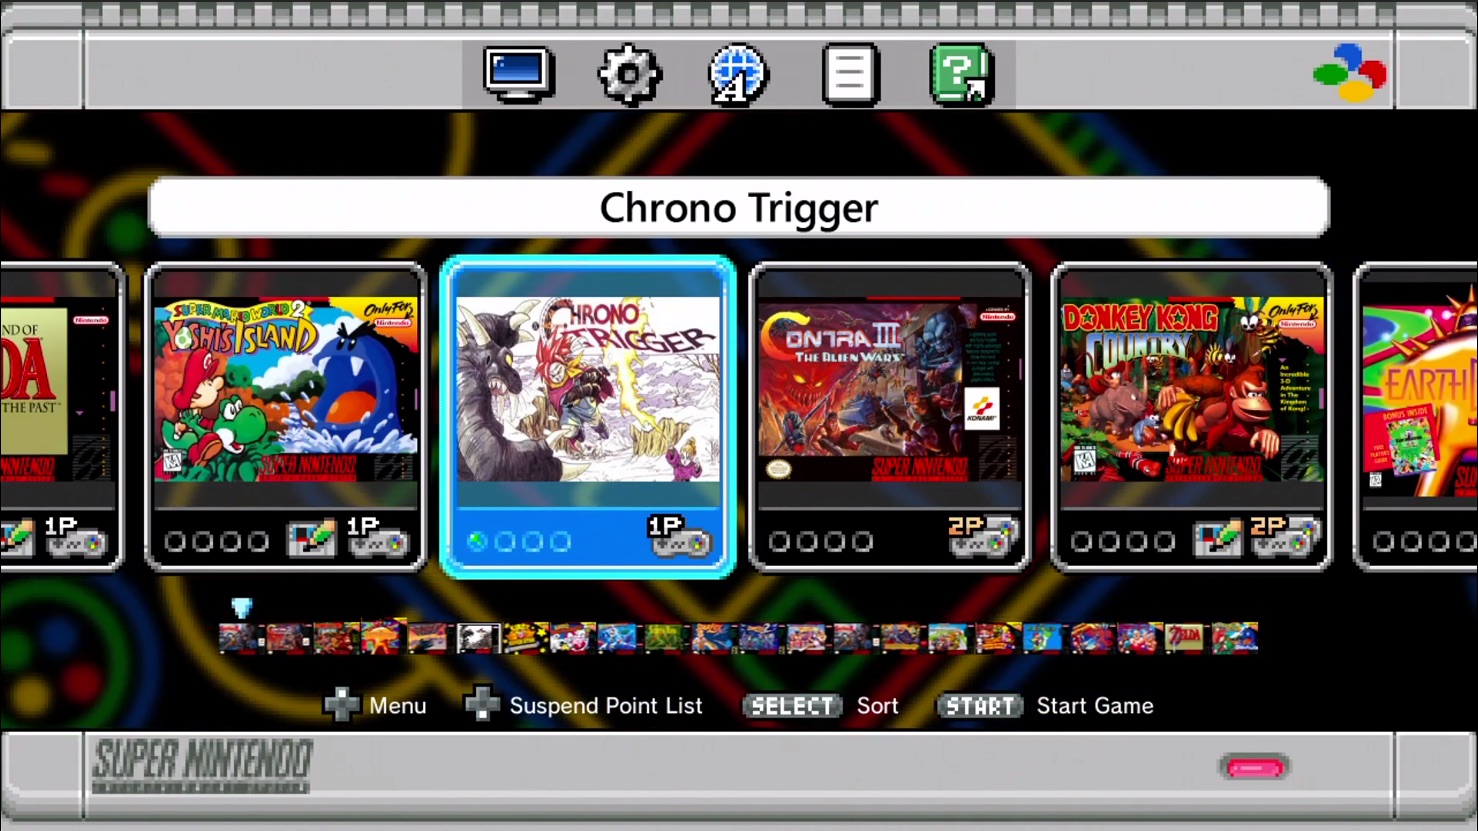
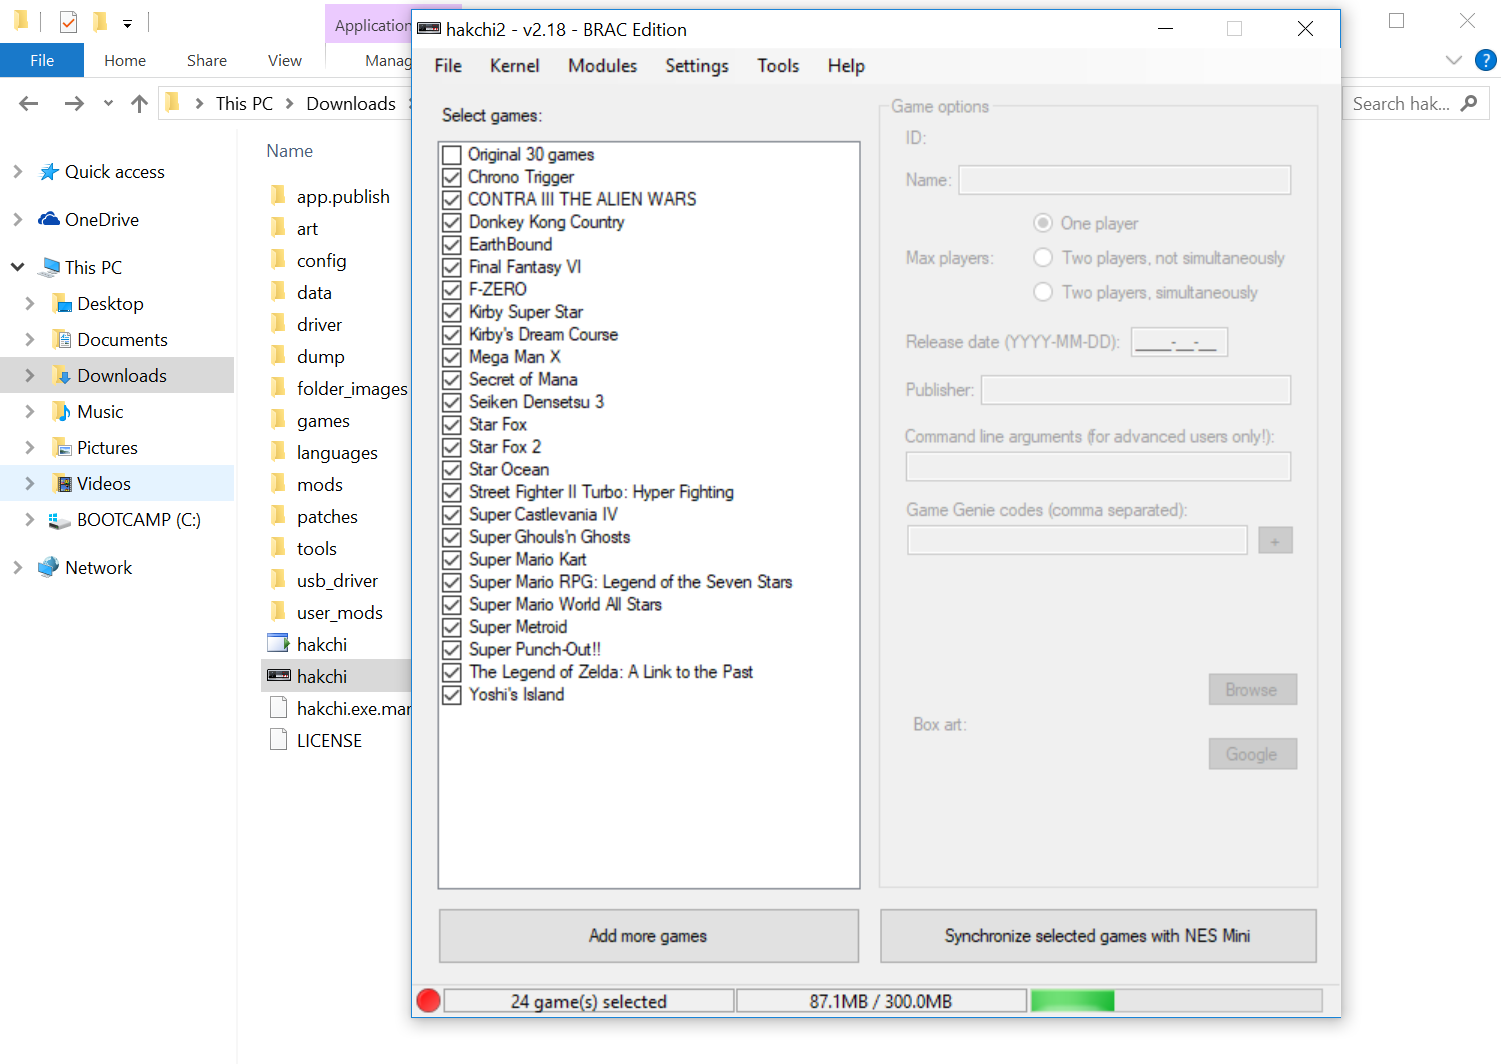
30. Open hakchi.exe and you should see the new game added to the list. Check the box and hit Synchronize selected games with NES mini.
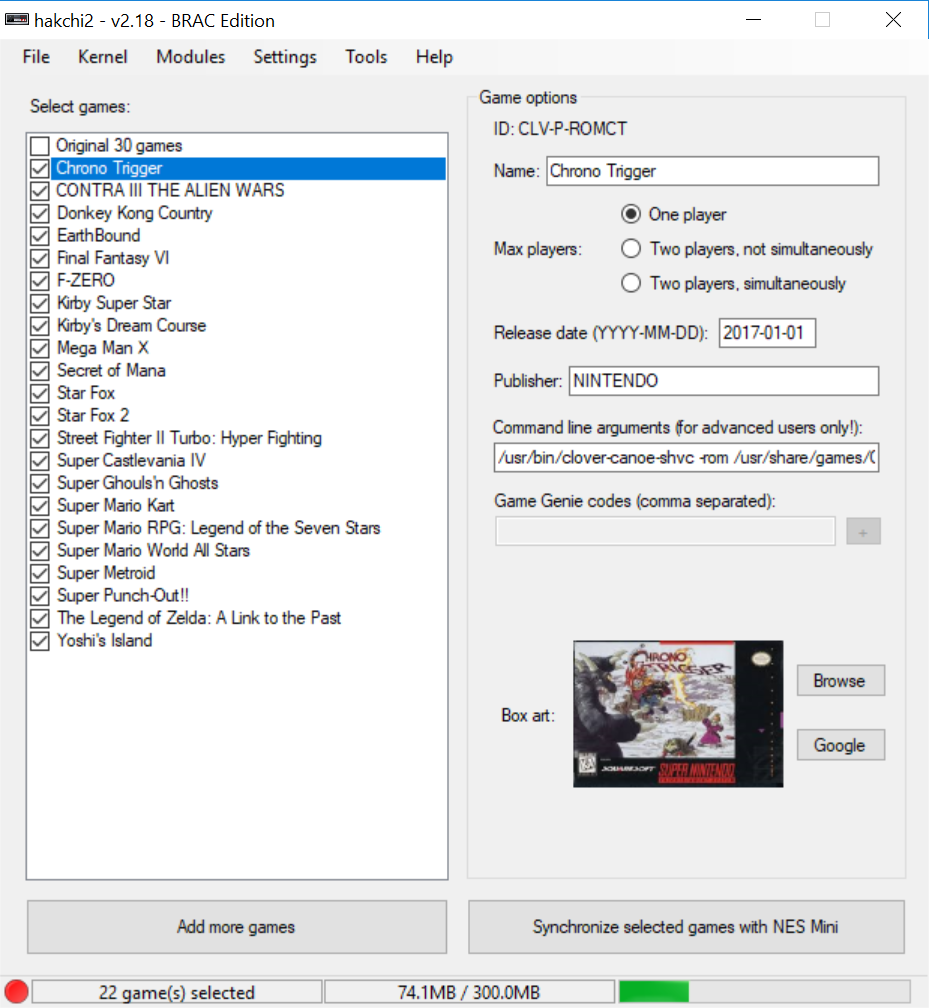
The game will now be added to your SNES Classic.
If this tutorial worked for you or if you have any questions please let us know in the comments field.